IISc Hyperloop | Pod | Making Video
Design and Manufacturing
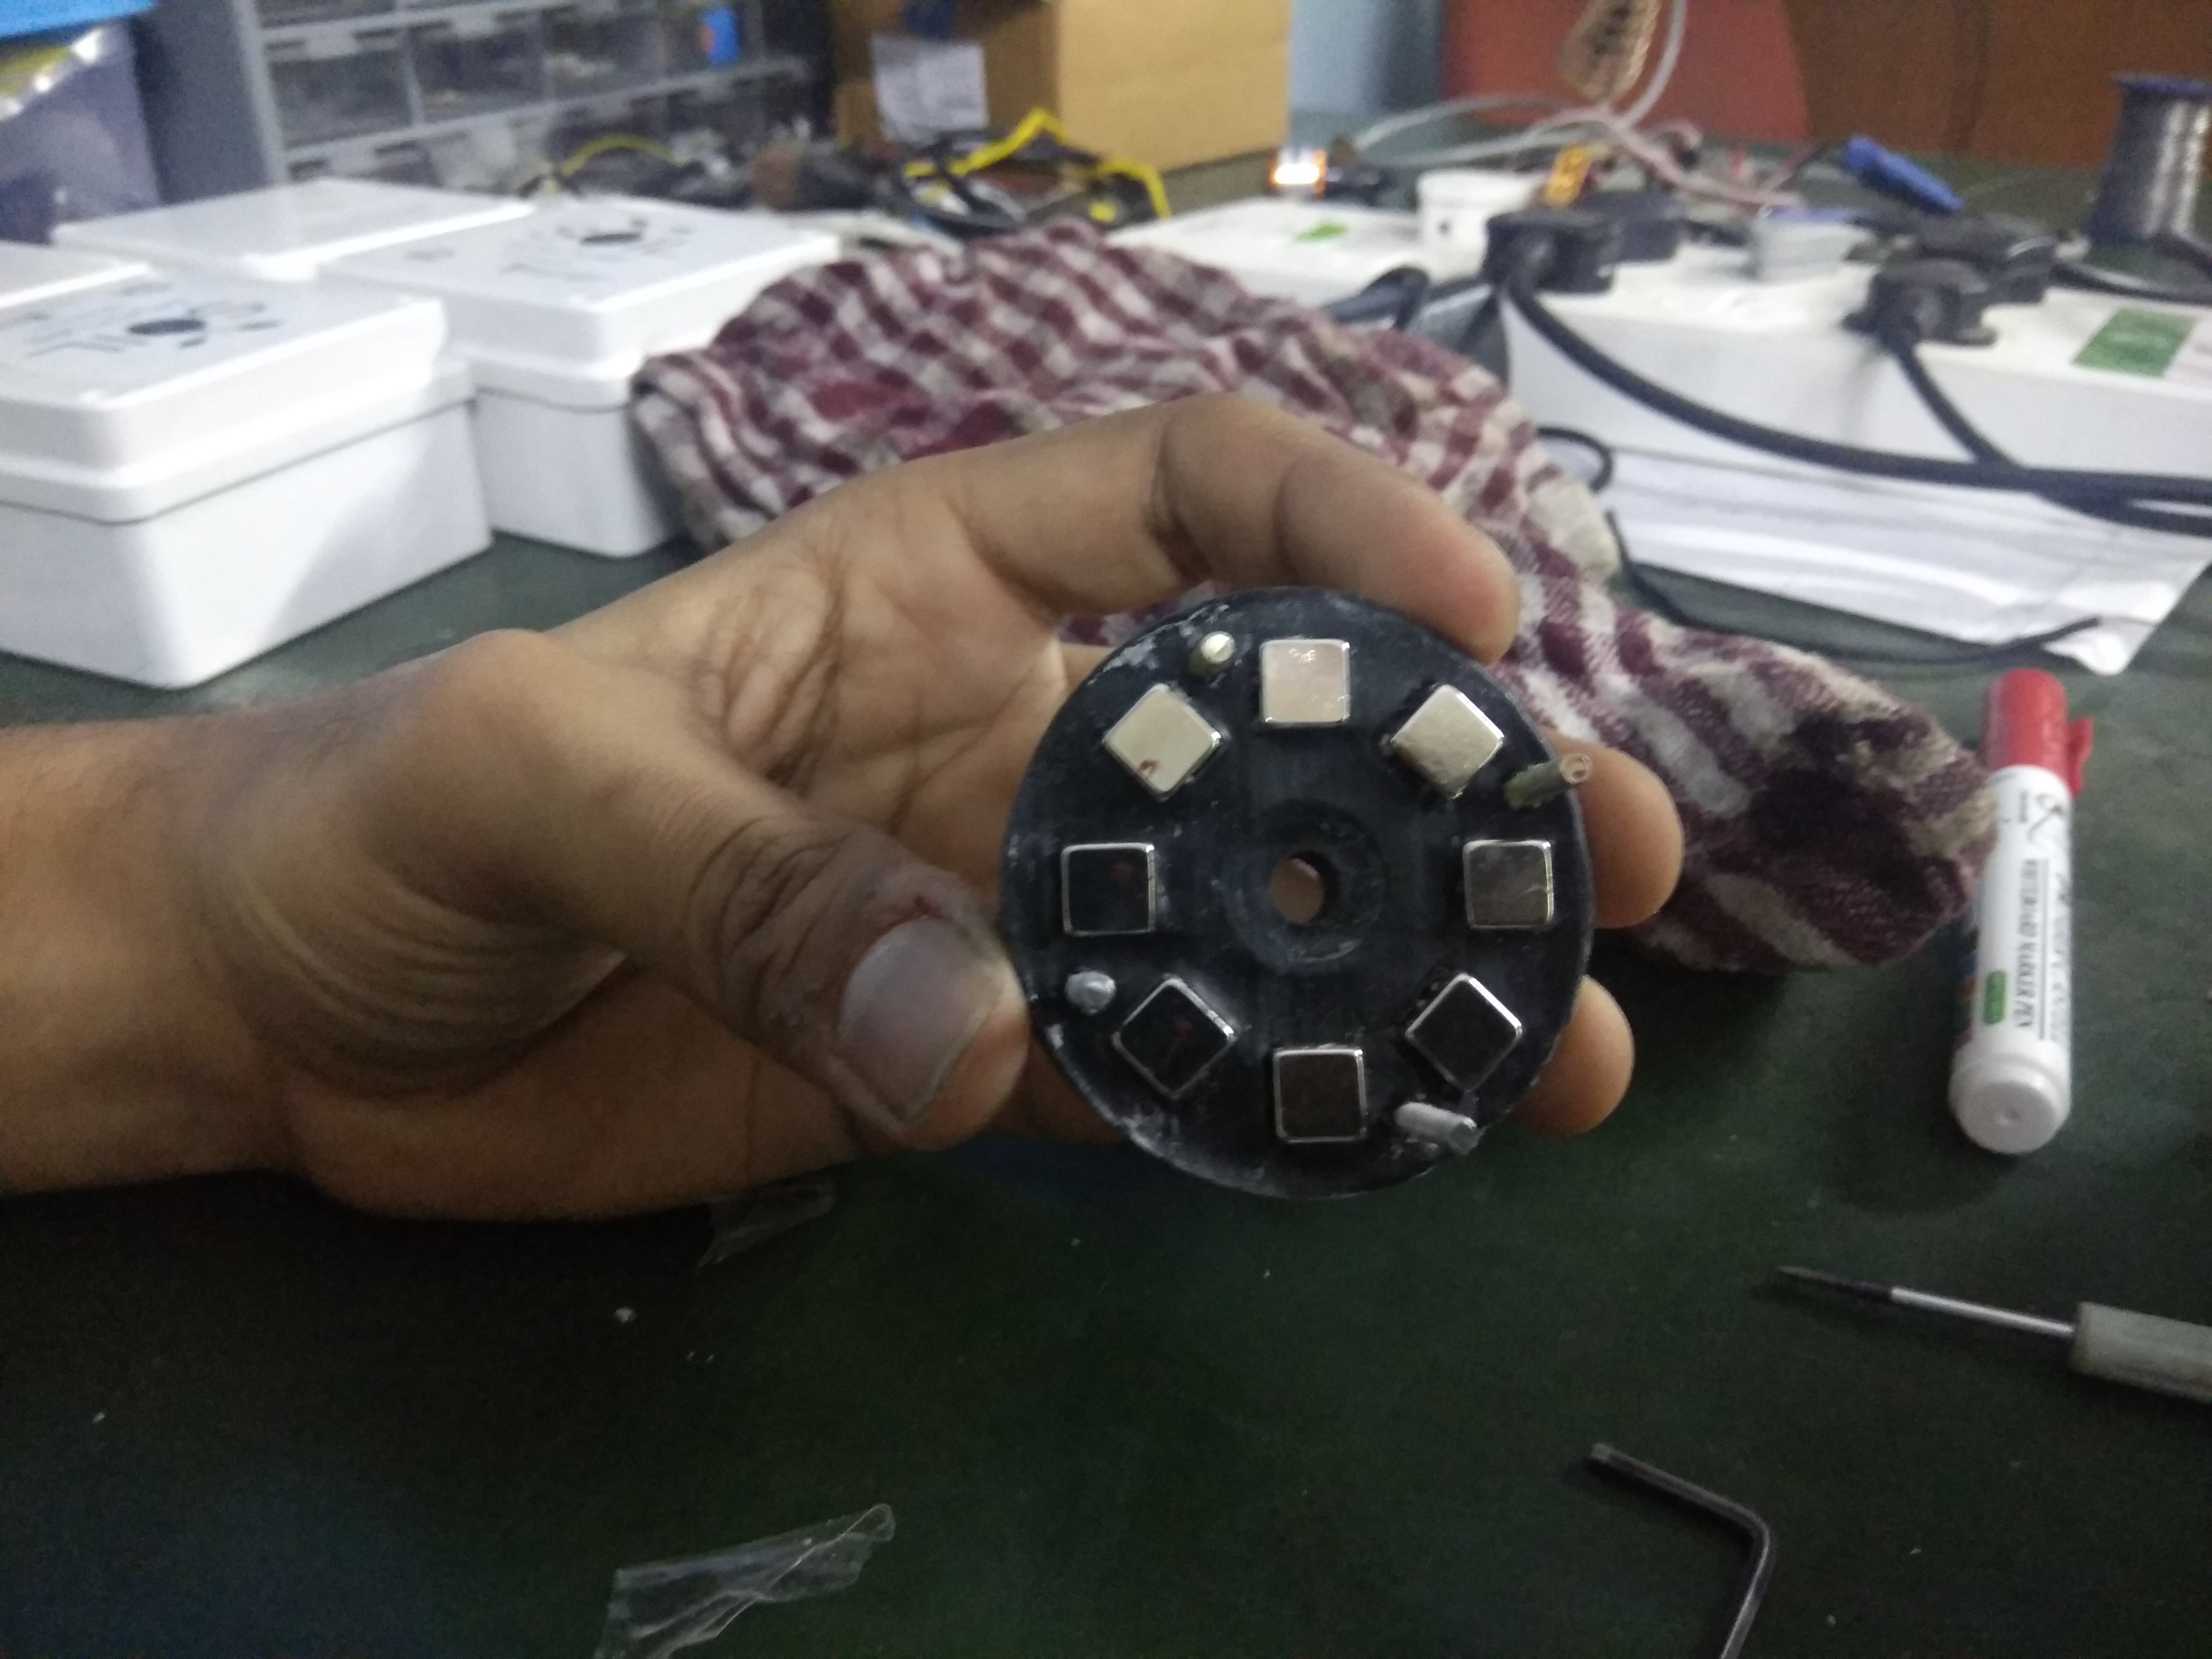
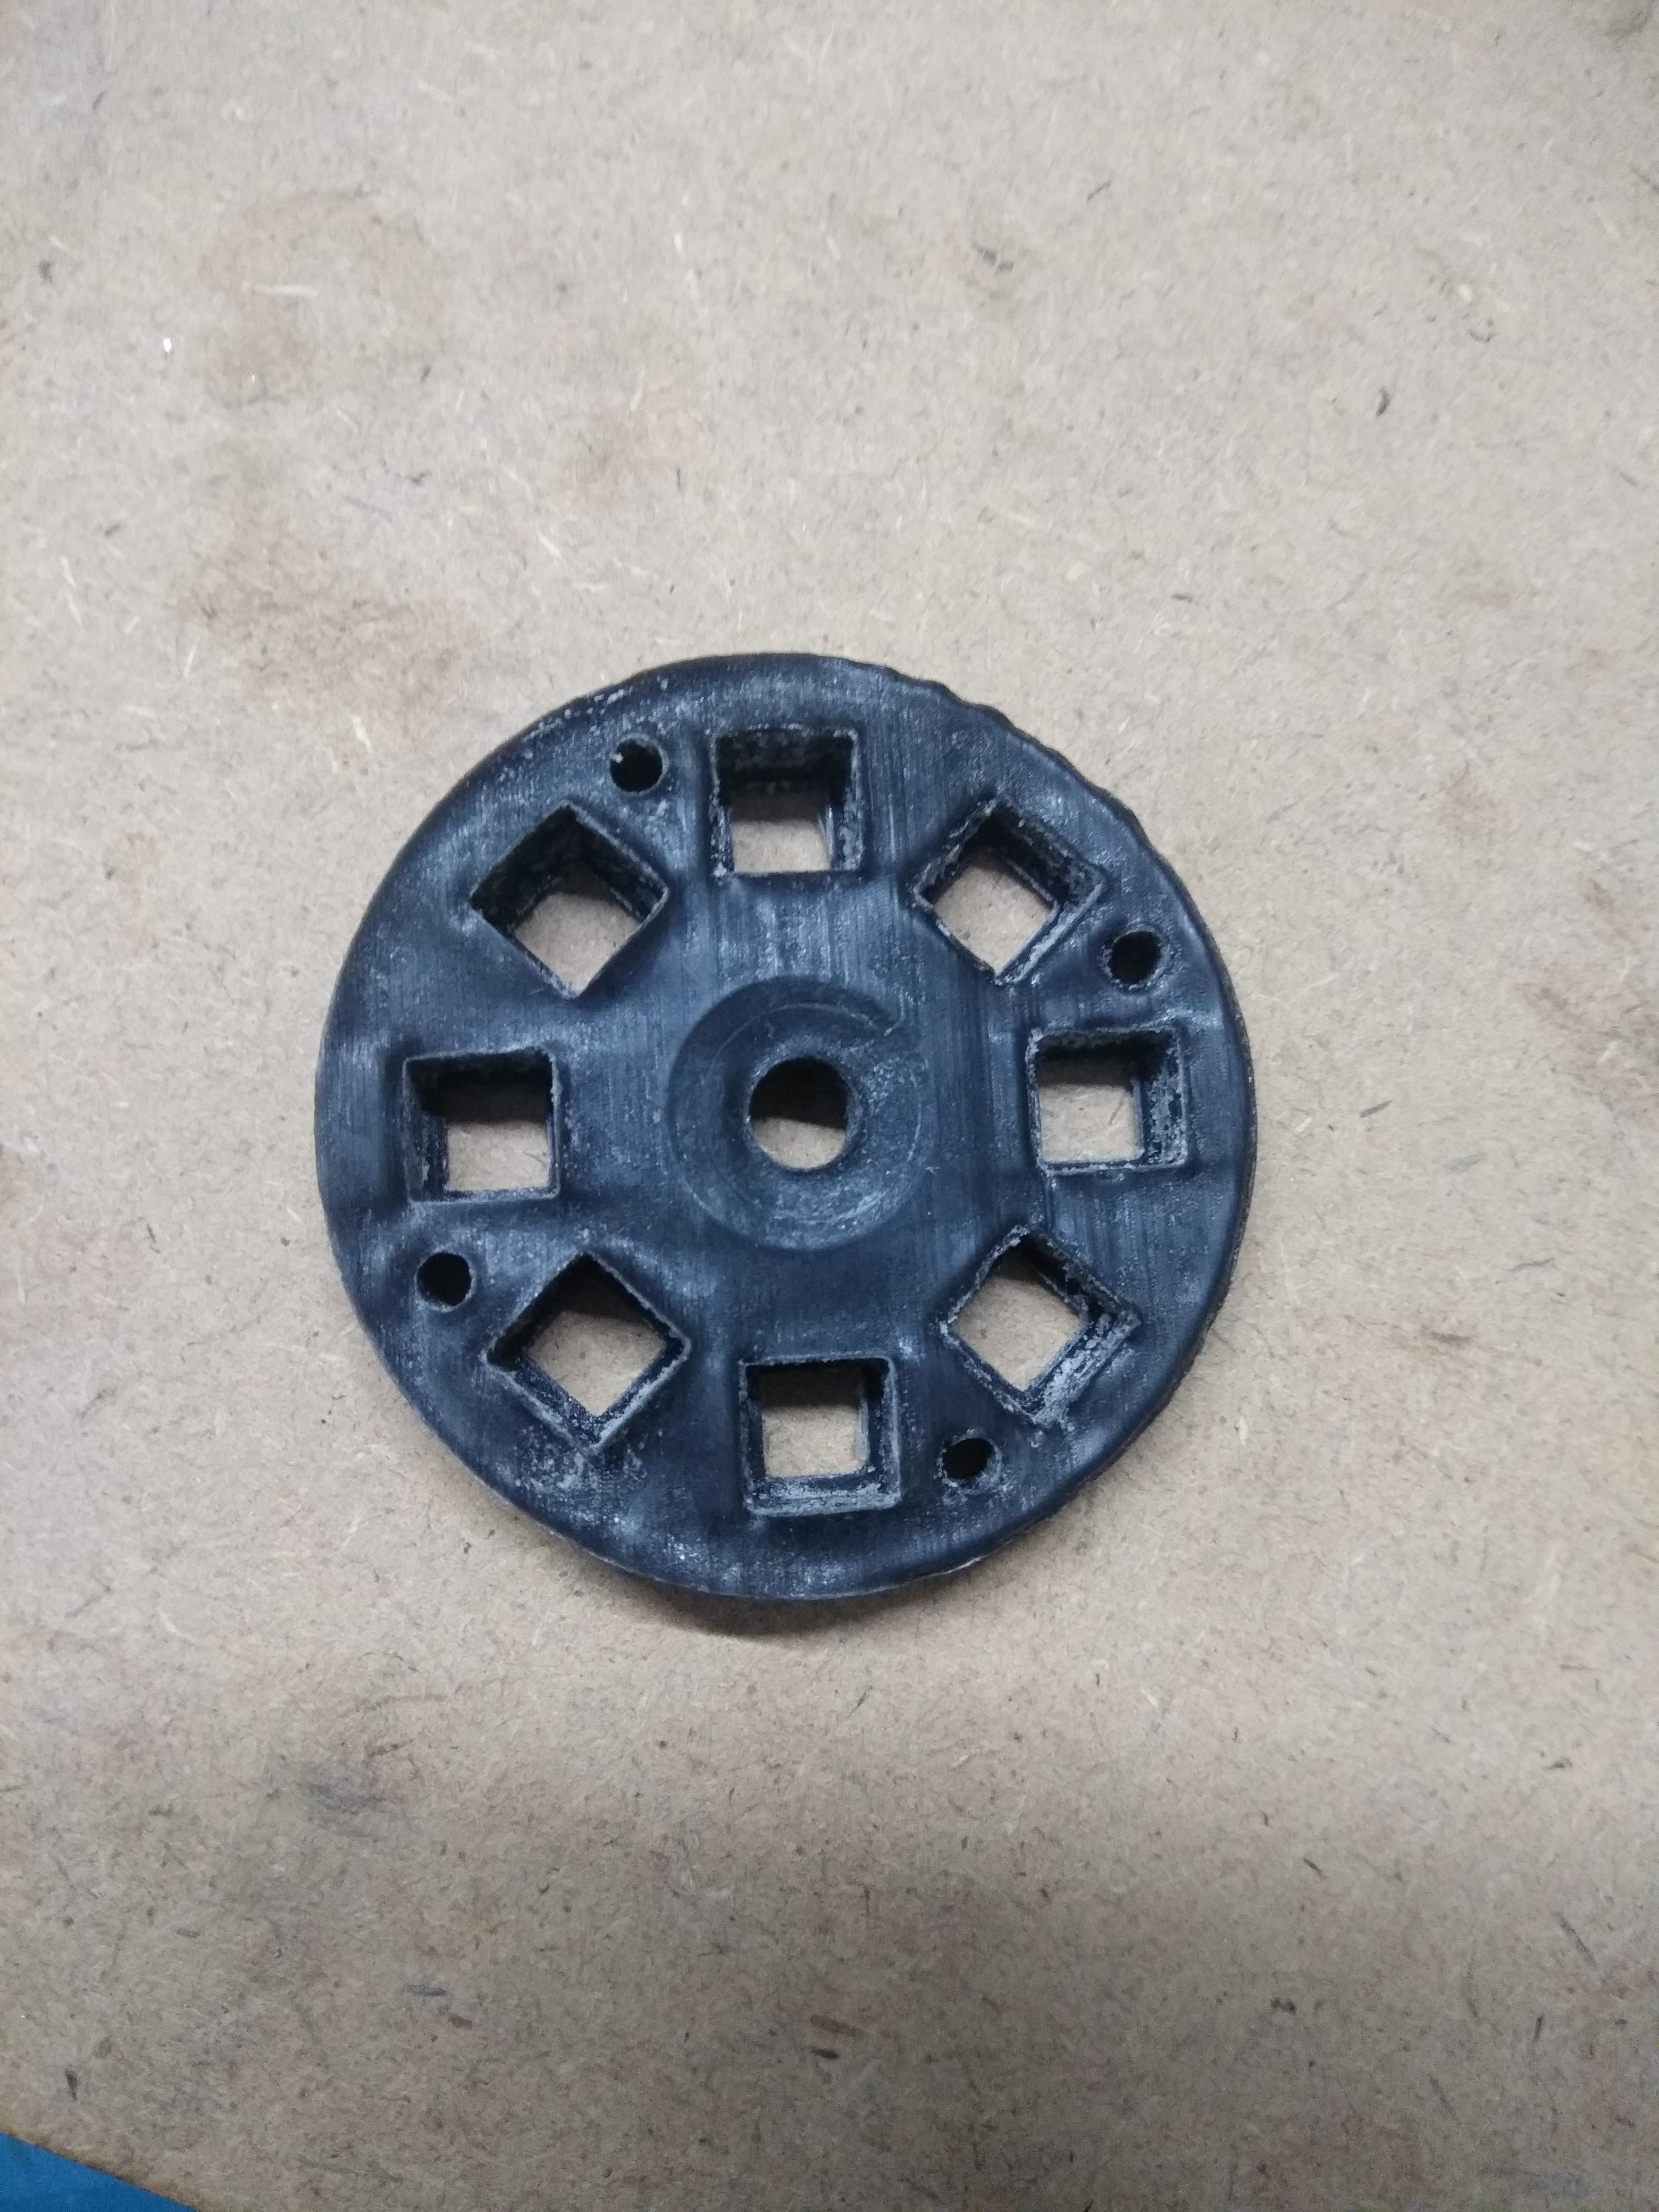
My role was designing and manufacturing rotors which had magnets pressfitted in them. As this was not a research project but just a demonstration, our priority was to have a working model in span of 2 weeks. Delivering a working hyperloop pod in just 2 weeks was a real challenge!
Step 1
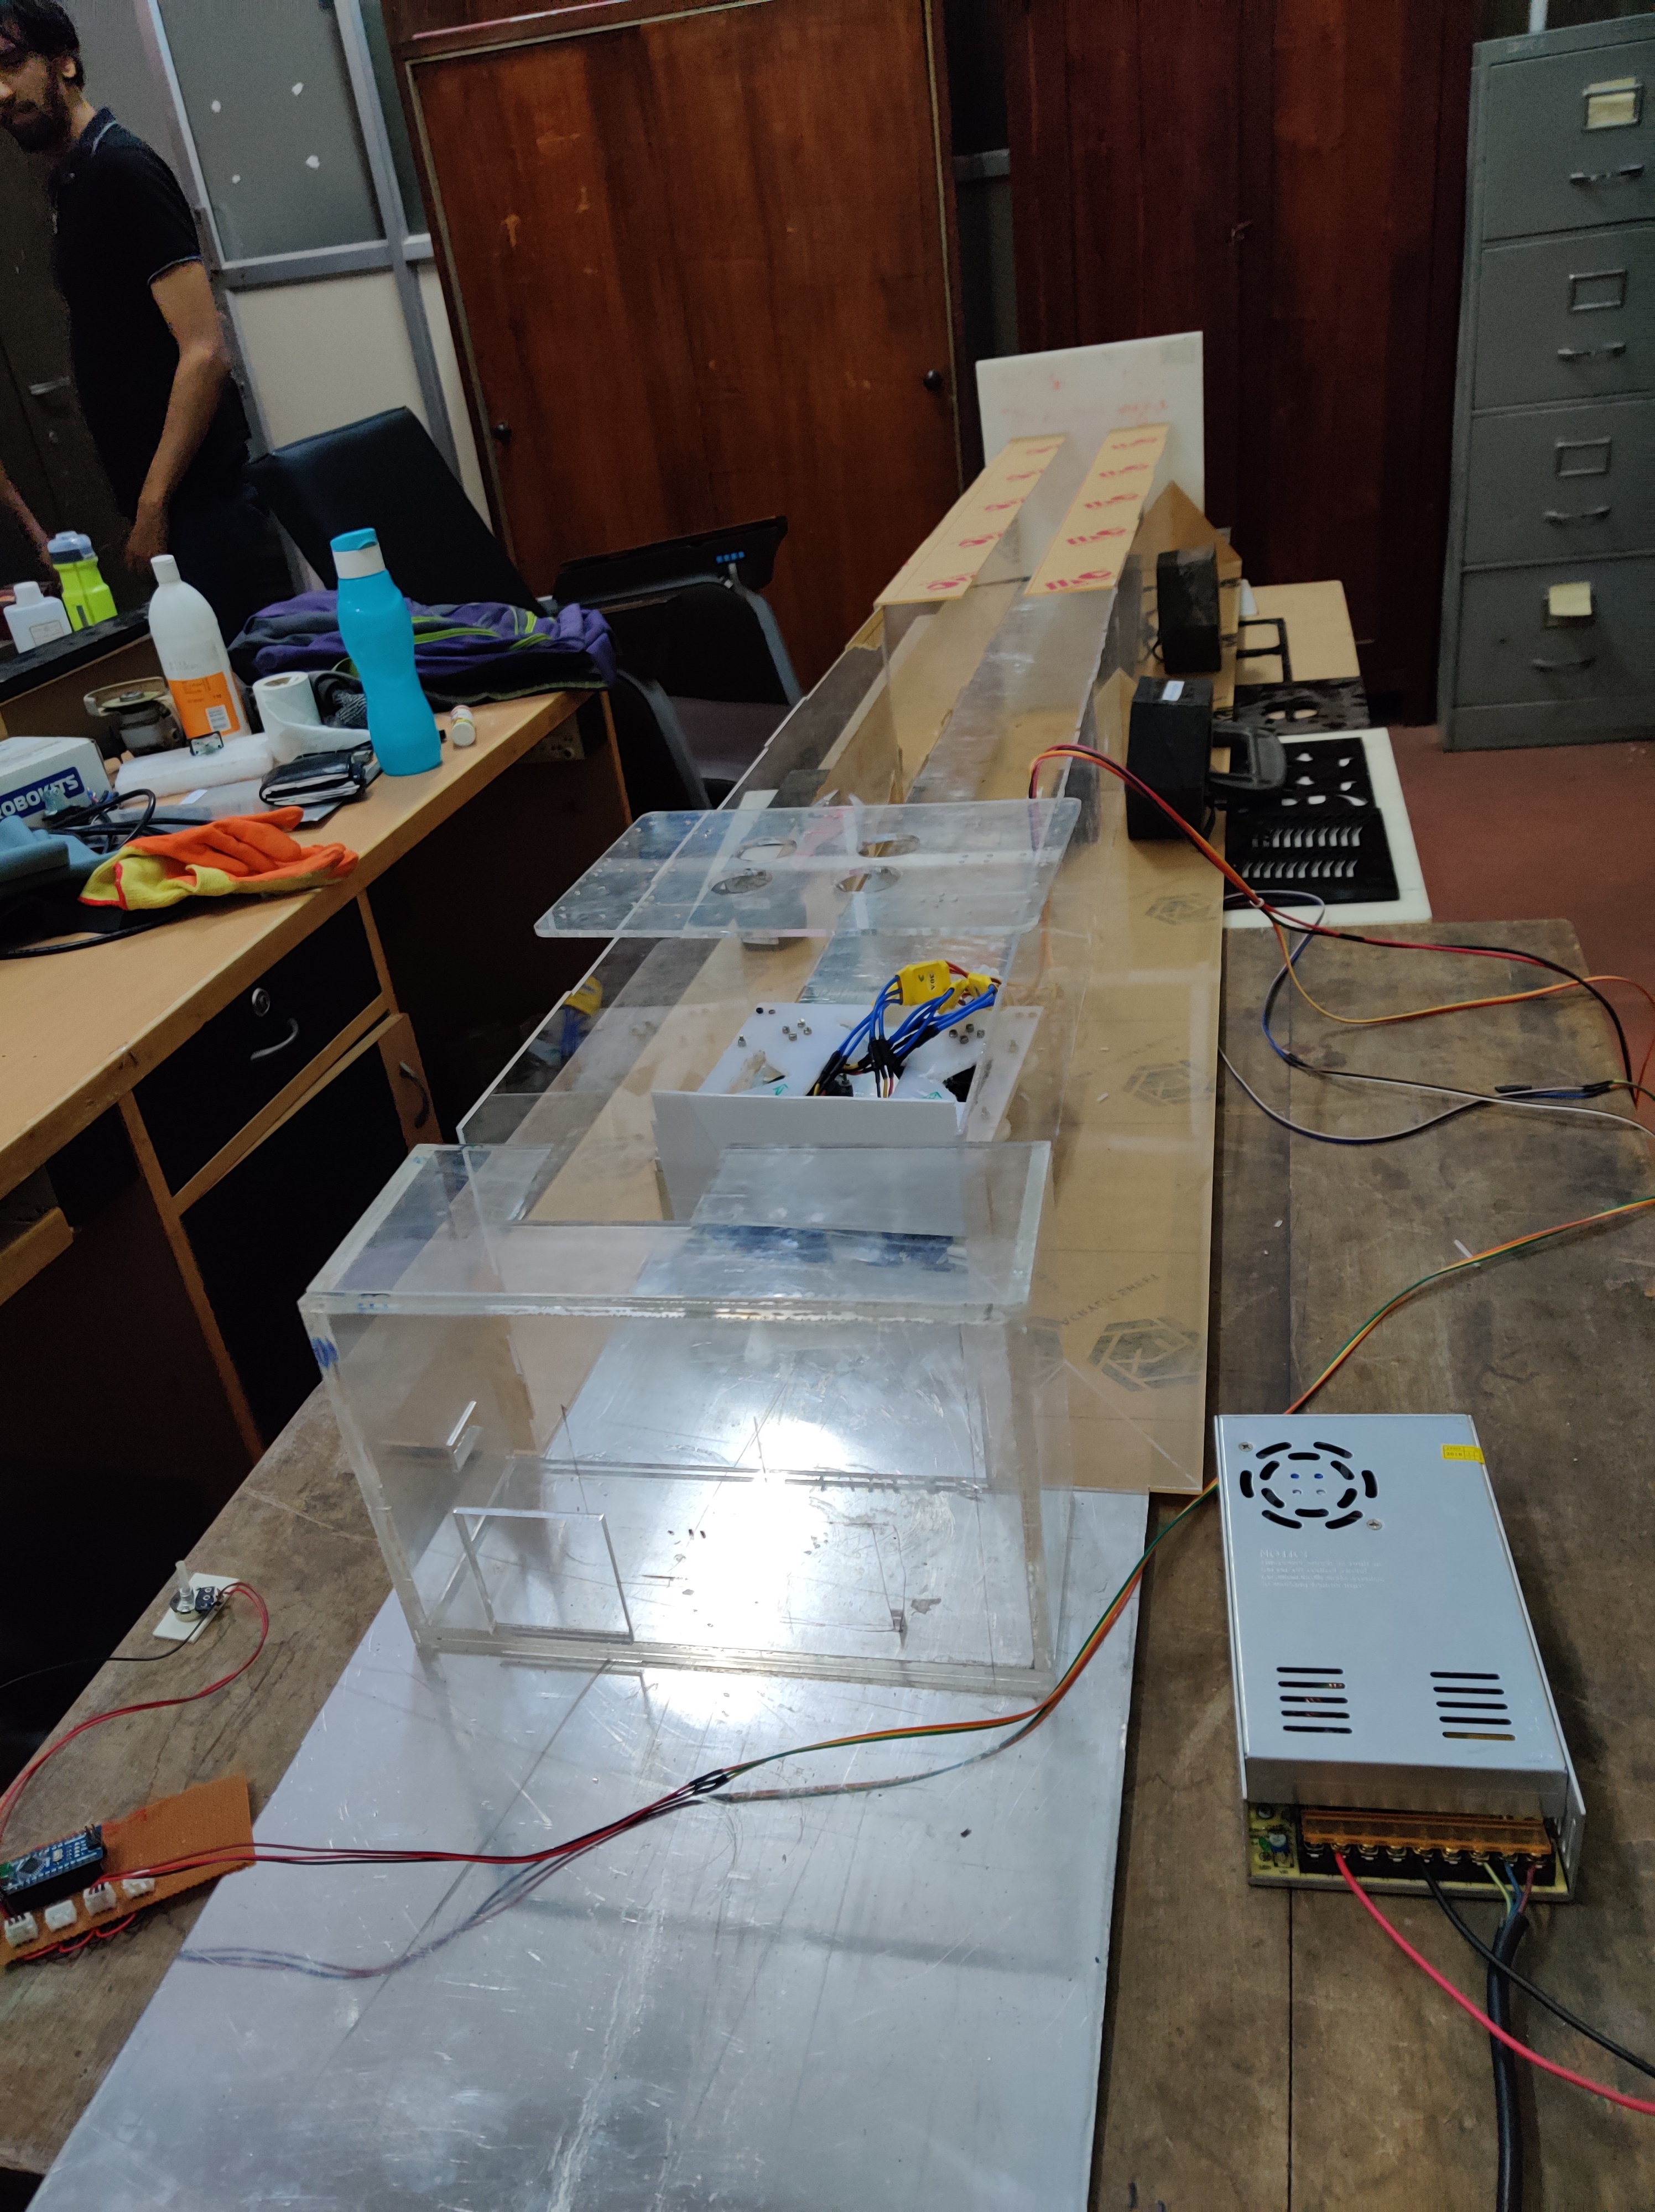
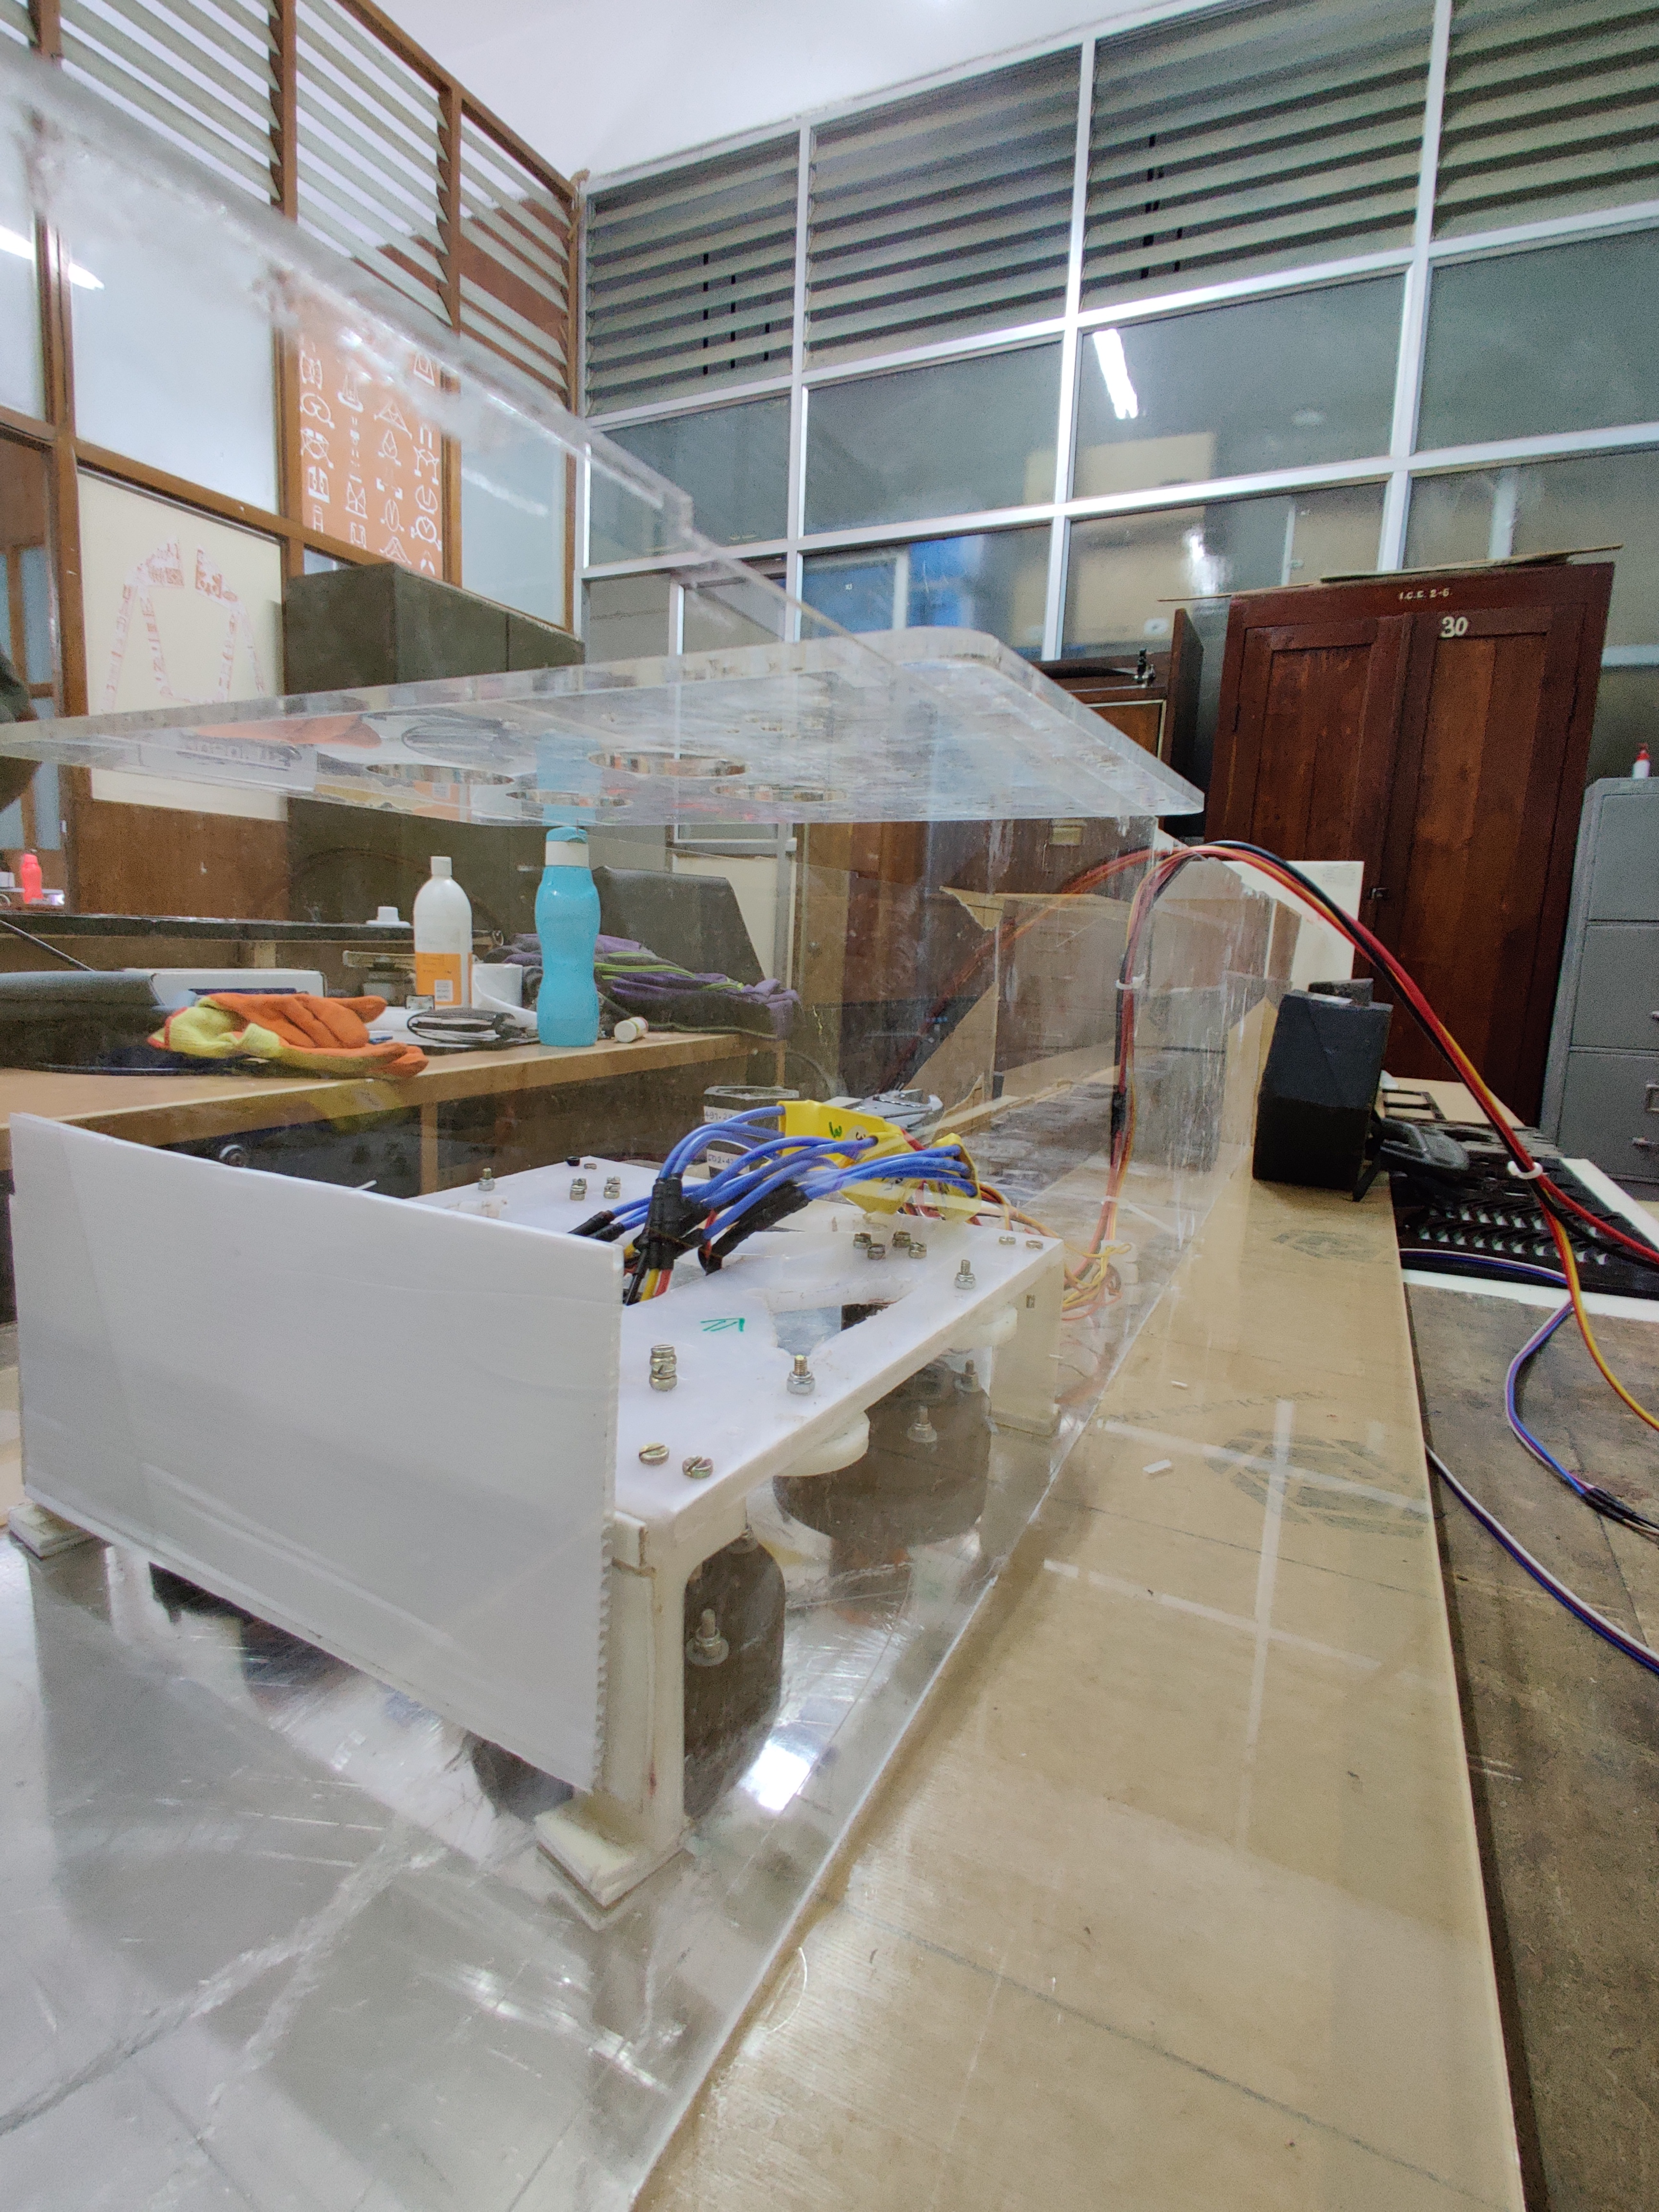
Selecting motors, deciding overall size of model ensuring it is manageable.
Step 2
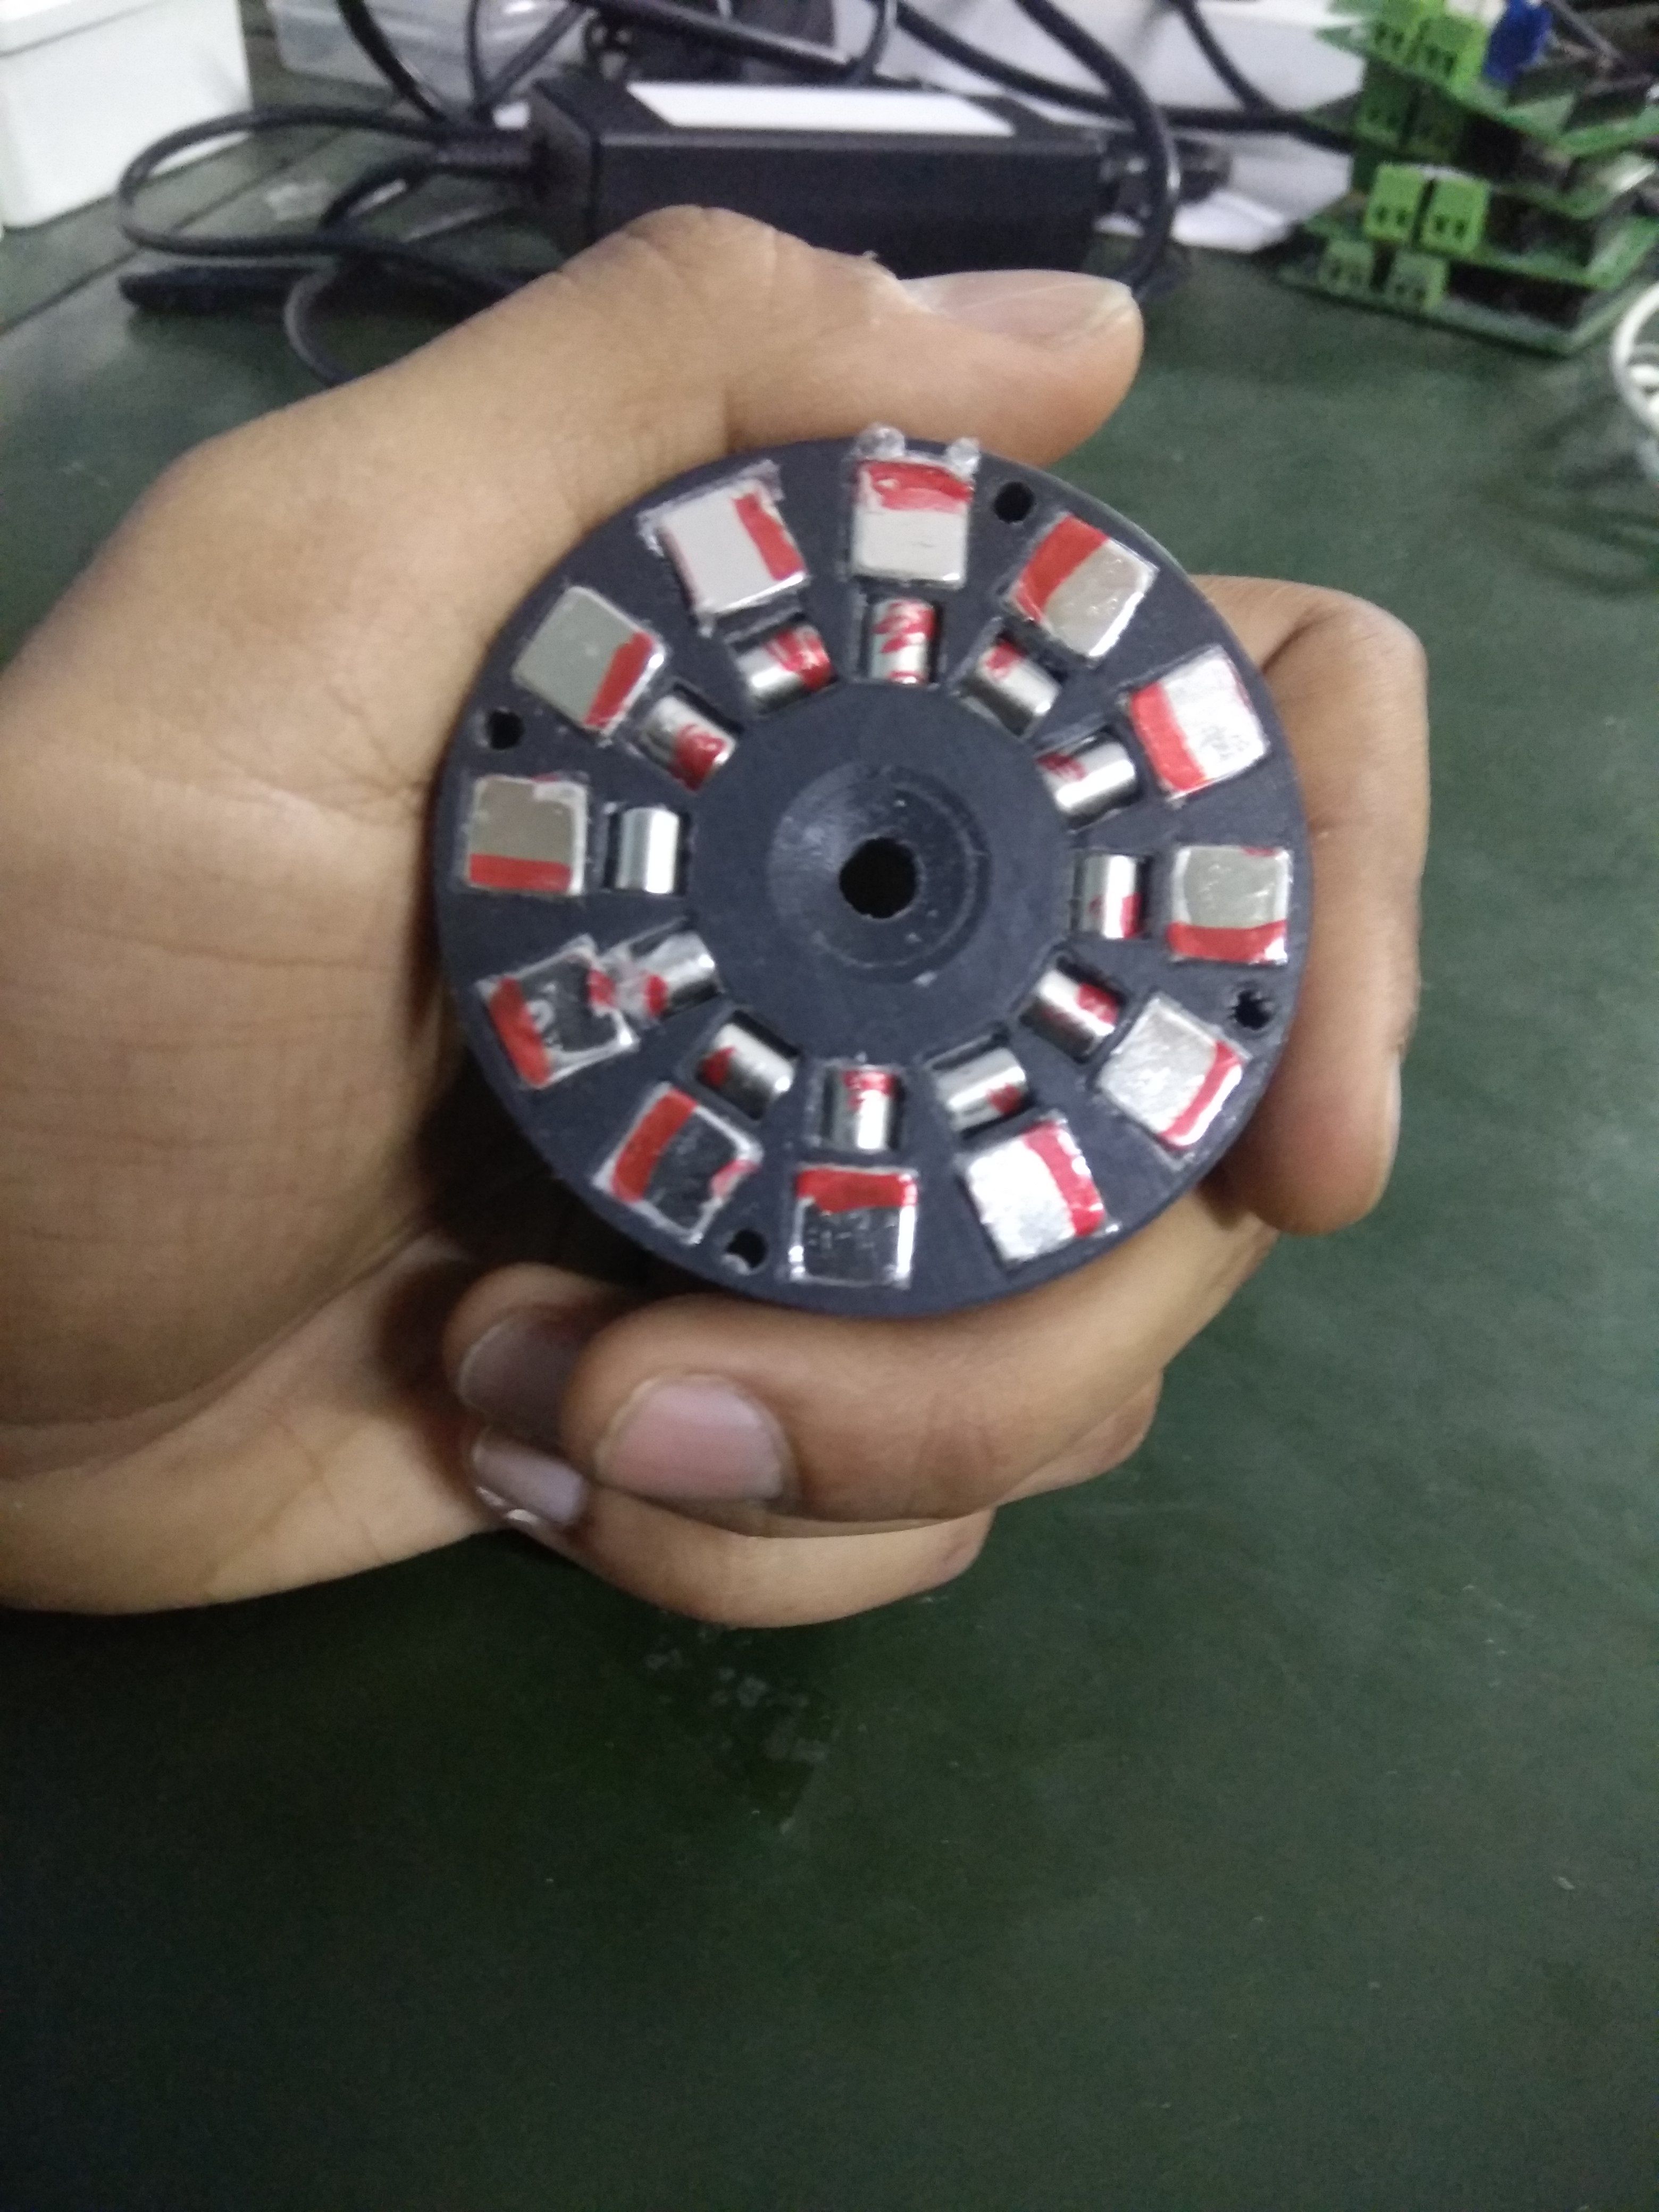
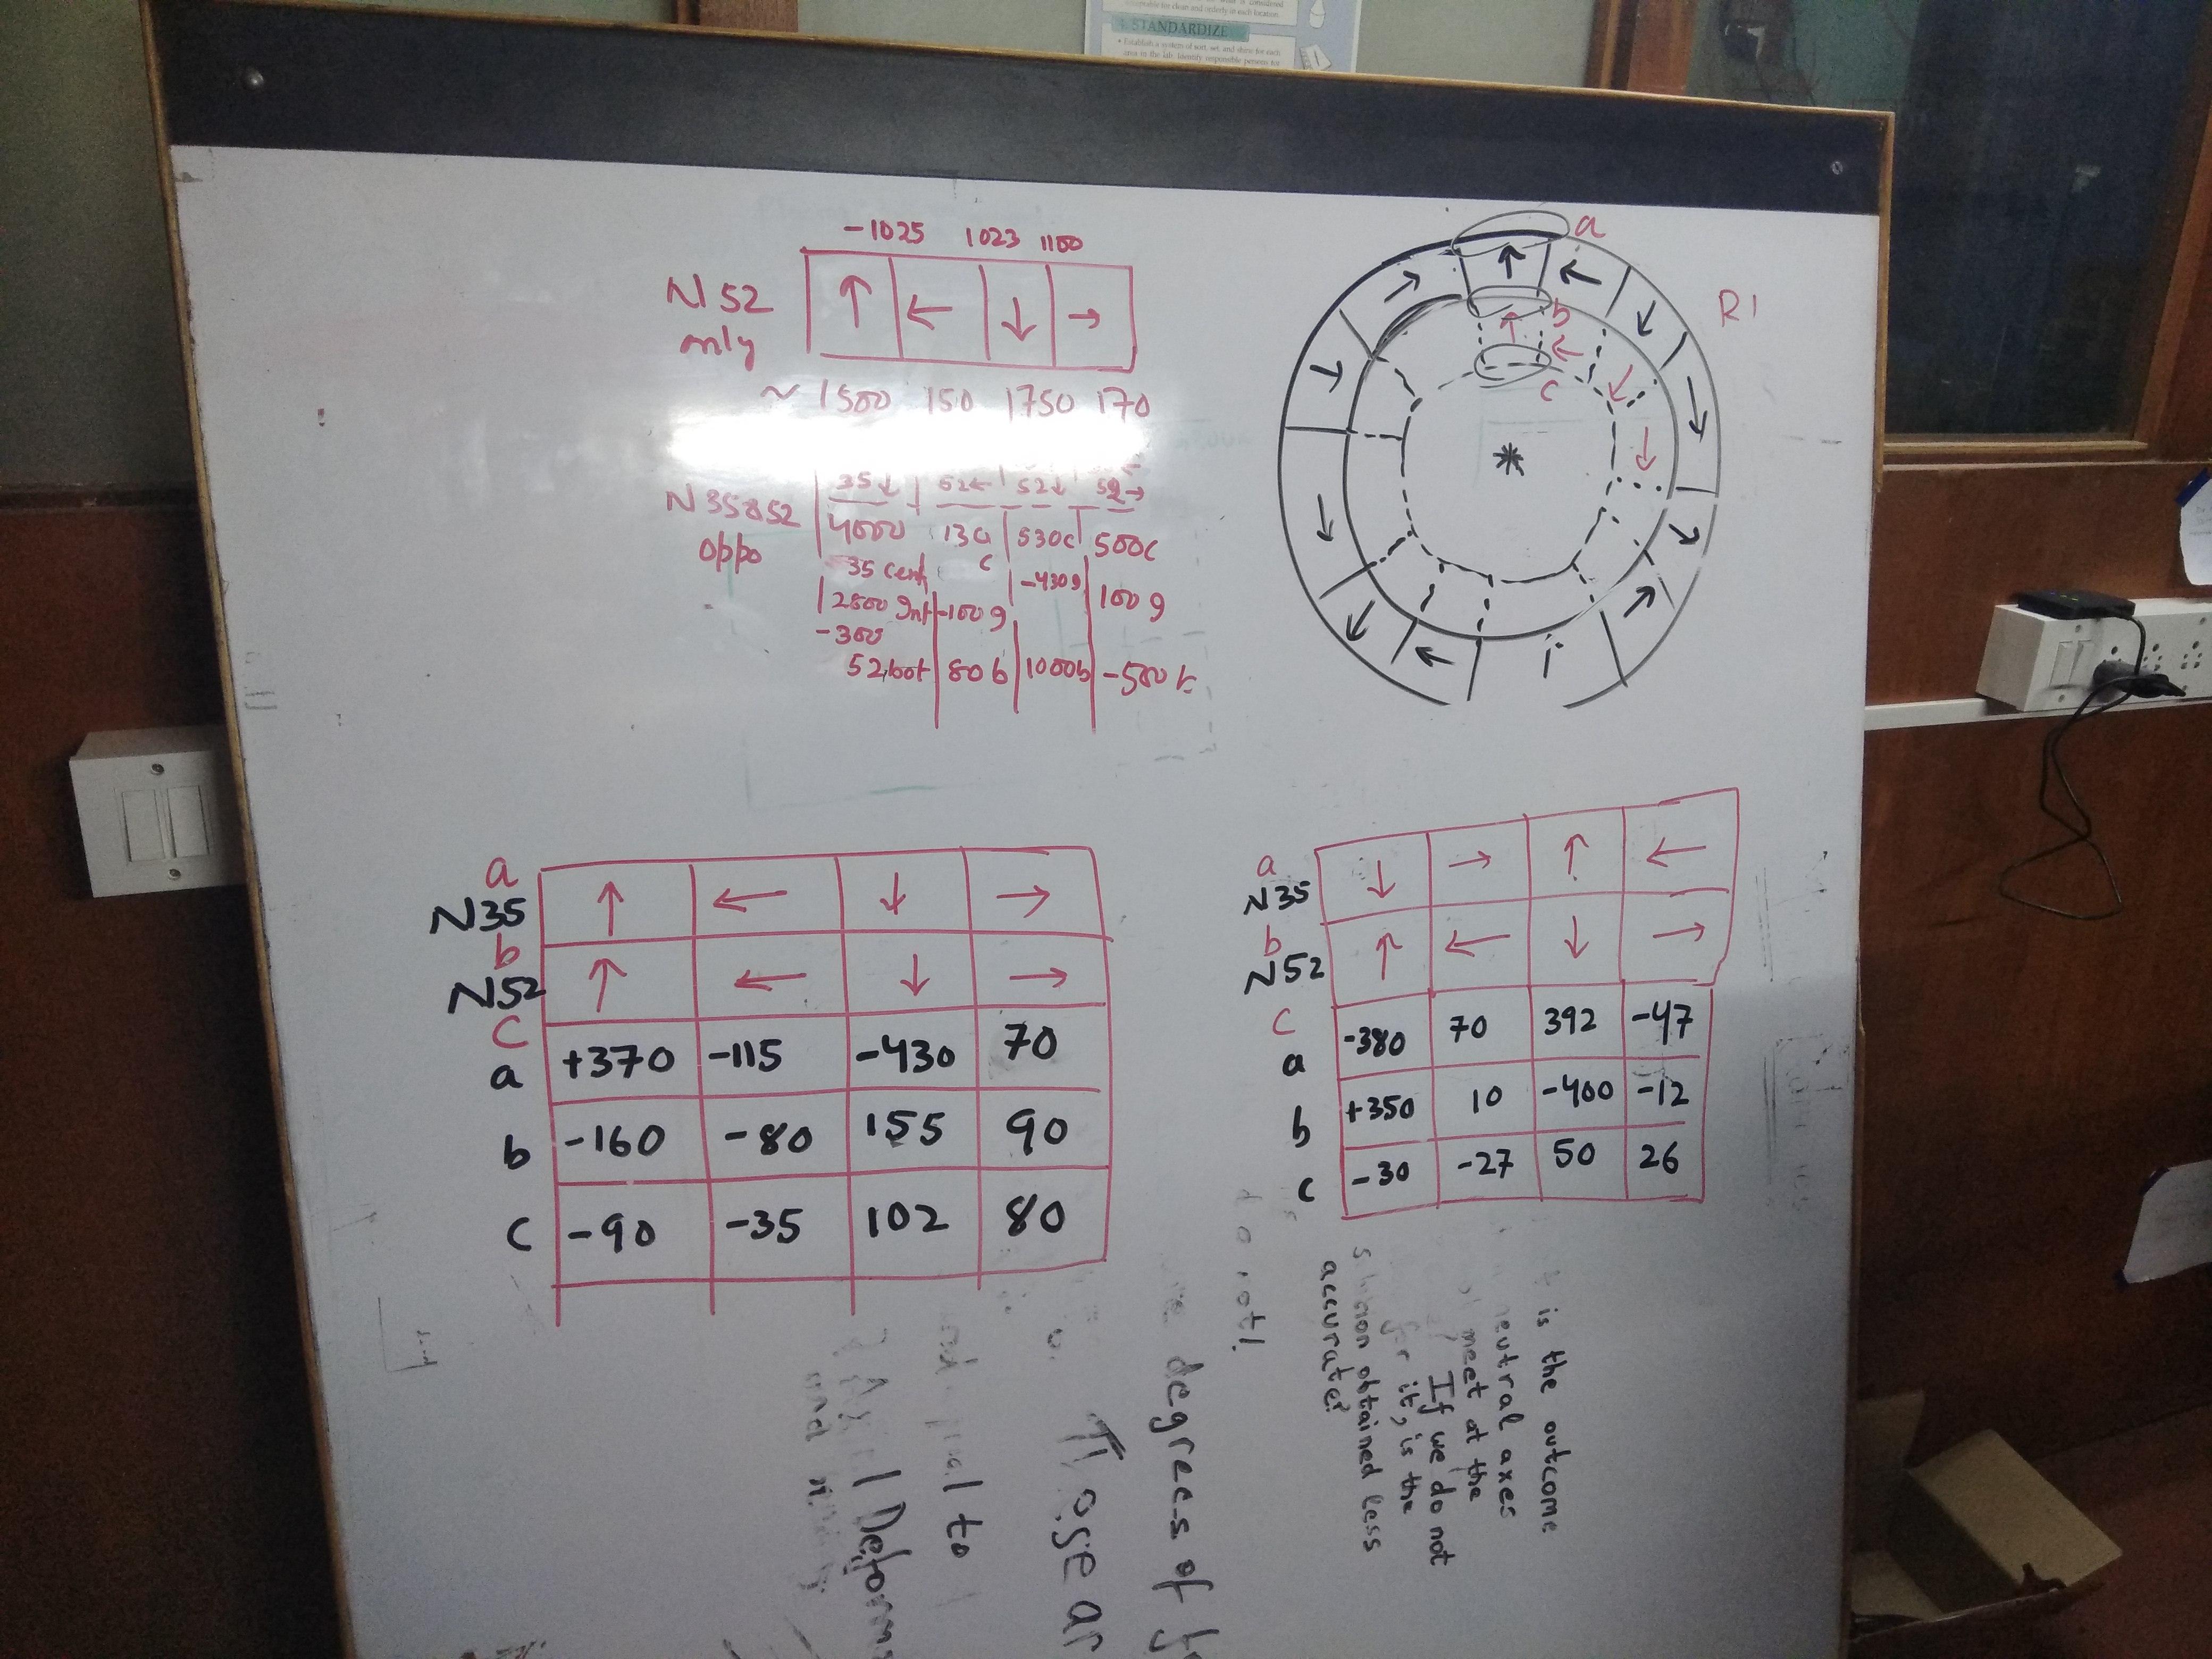
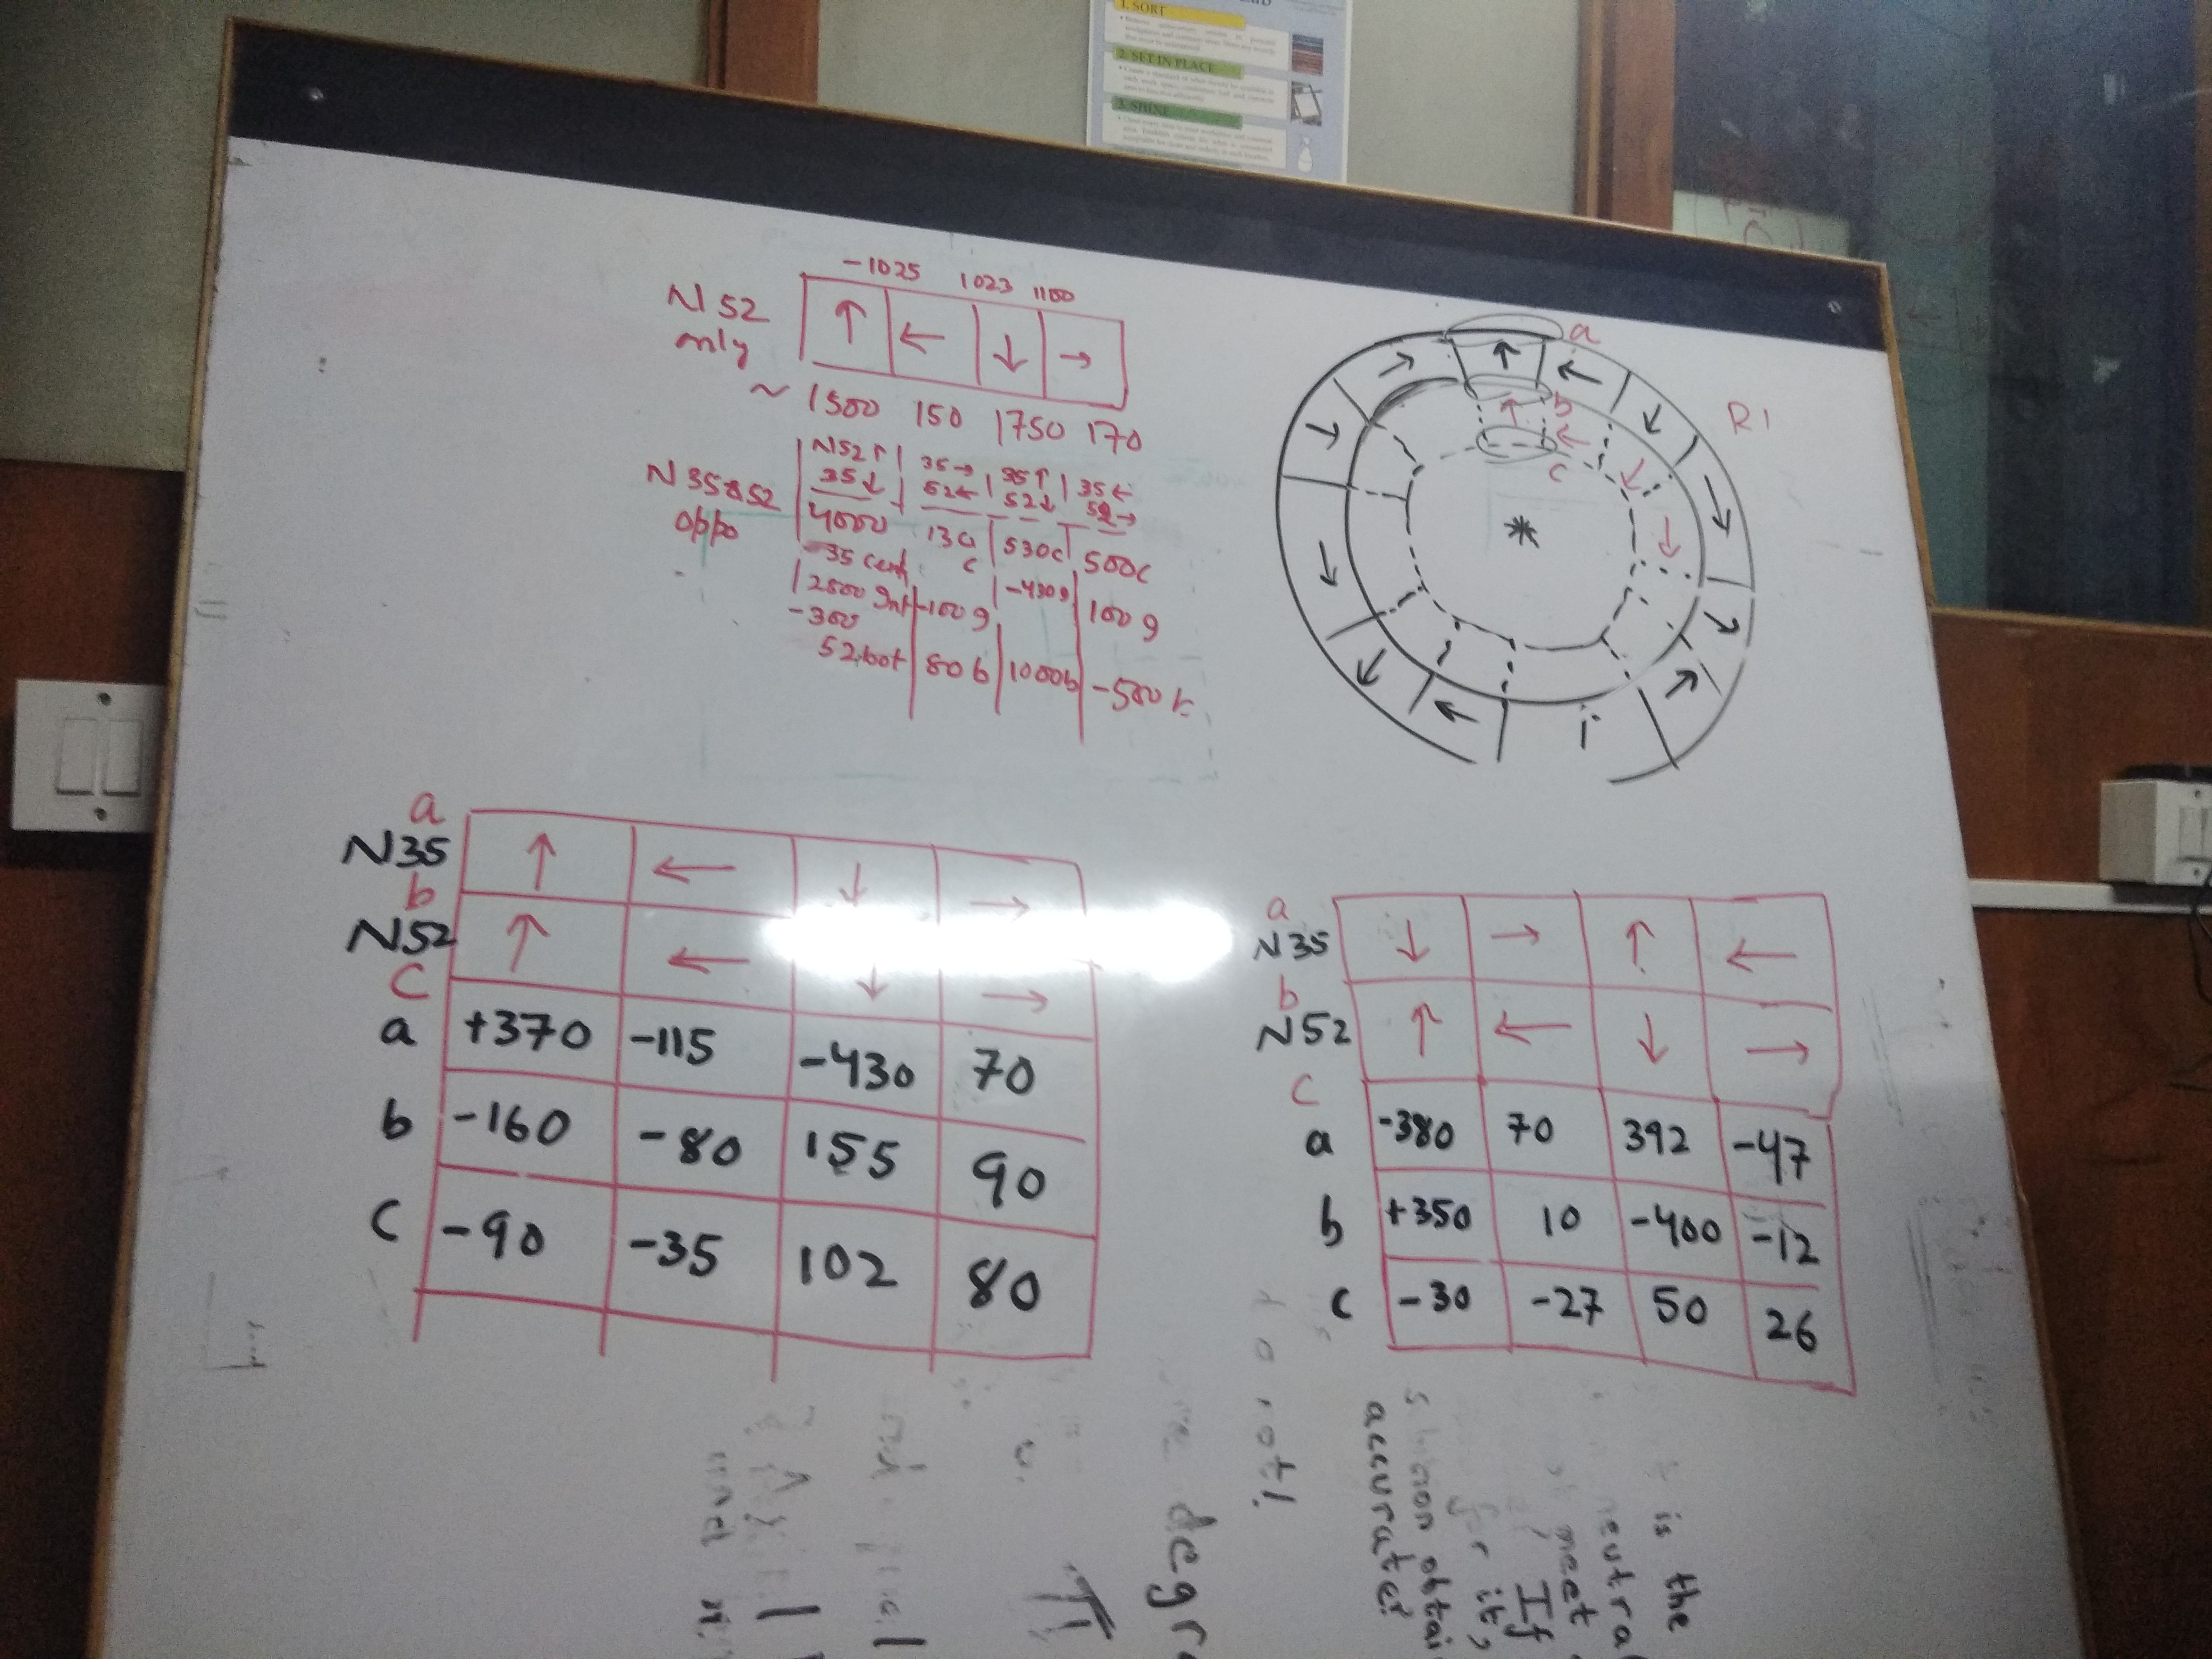
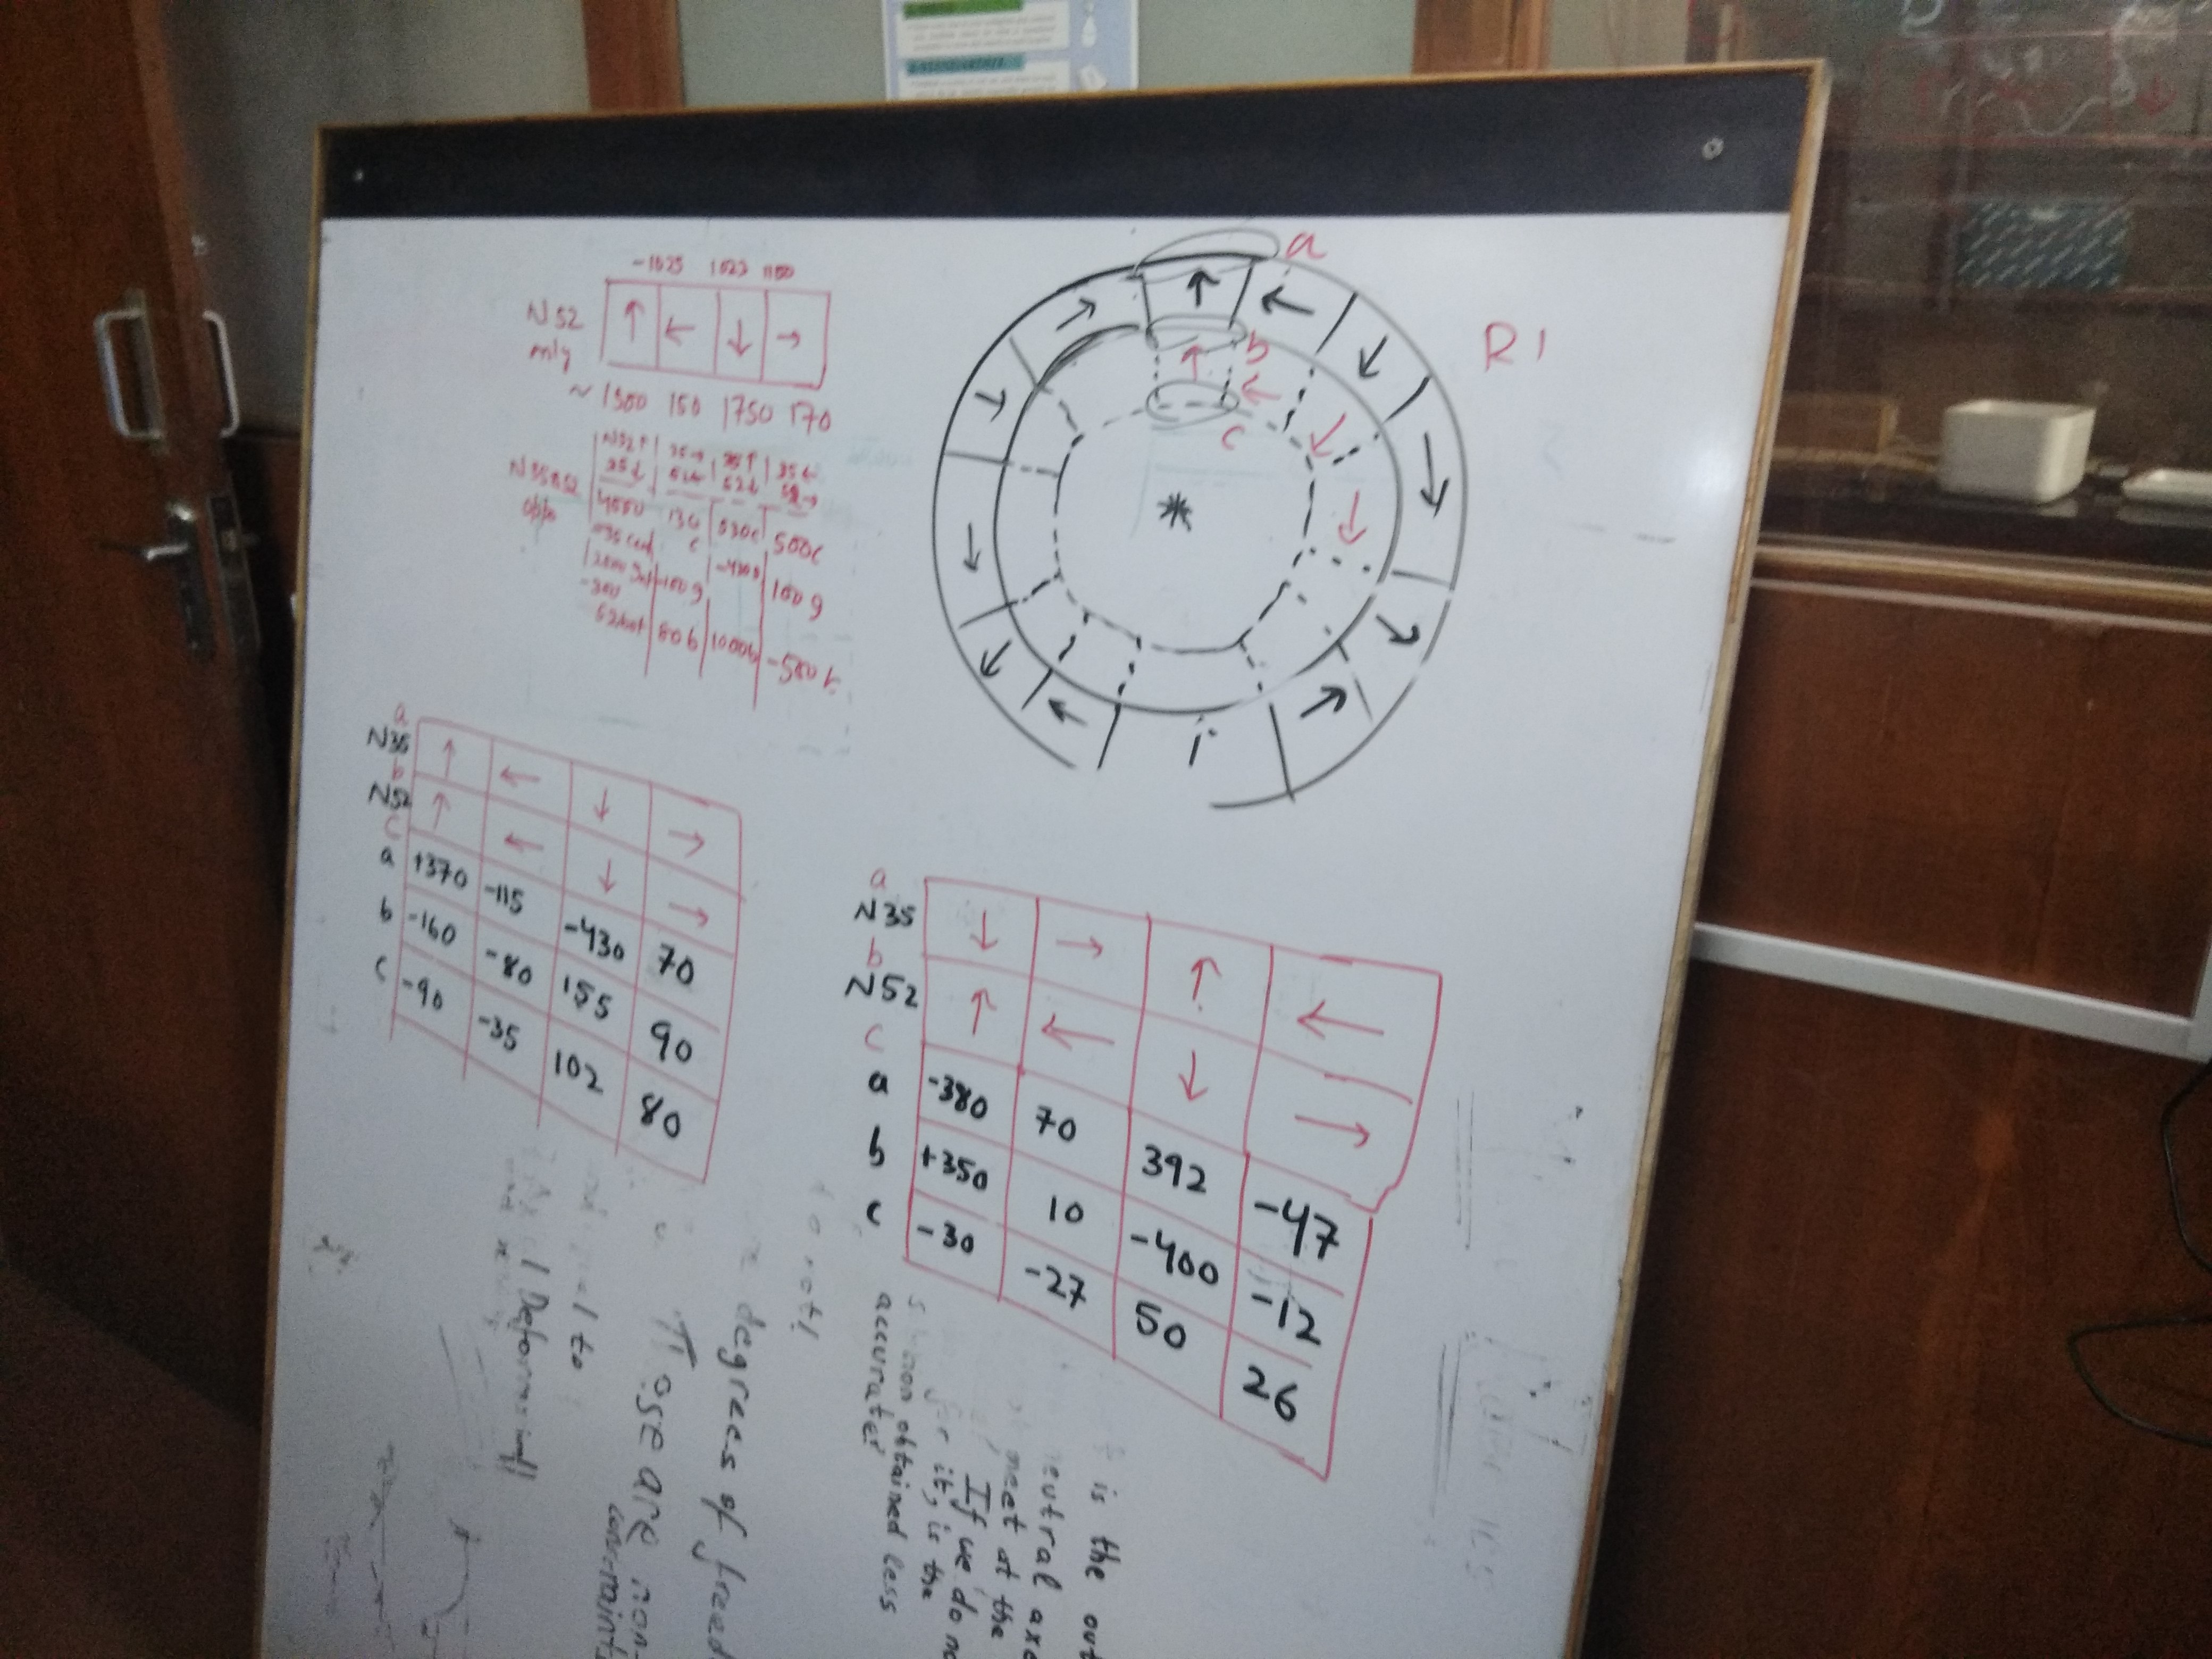
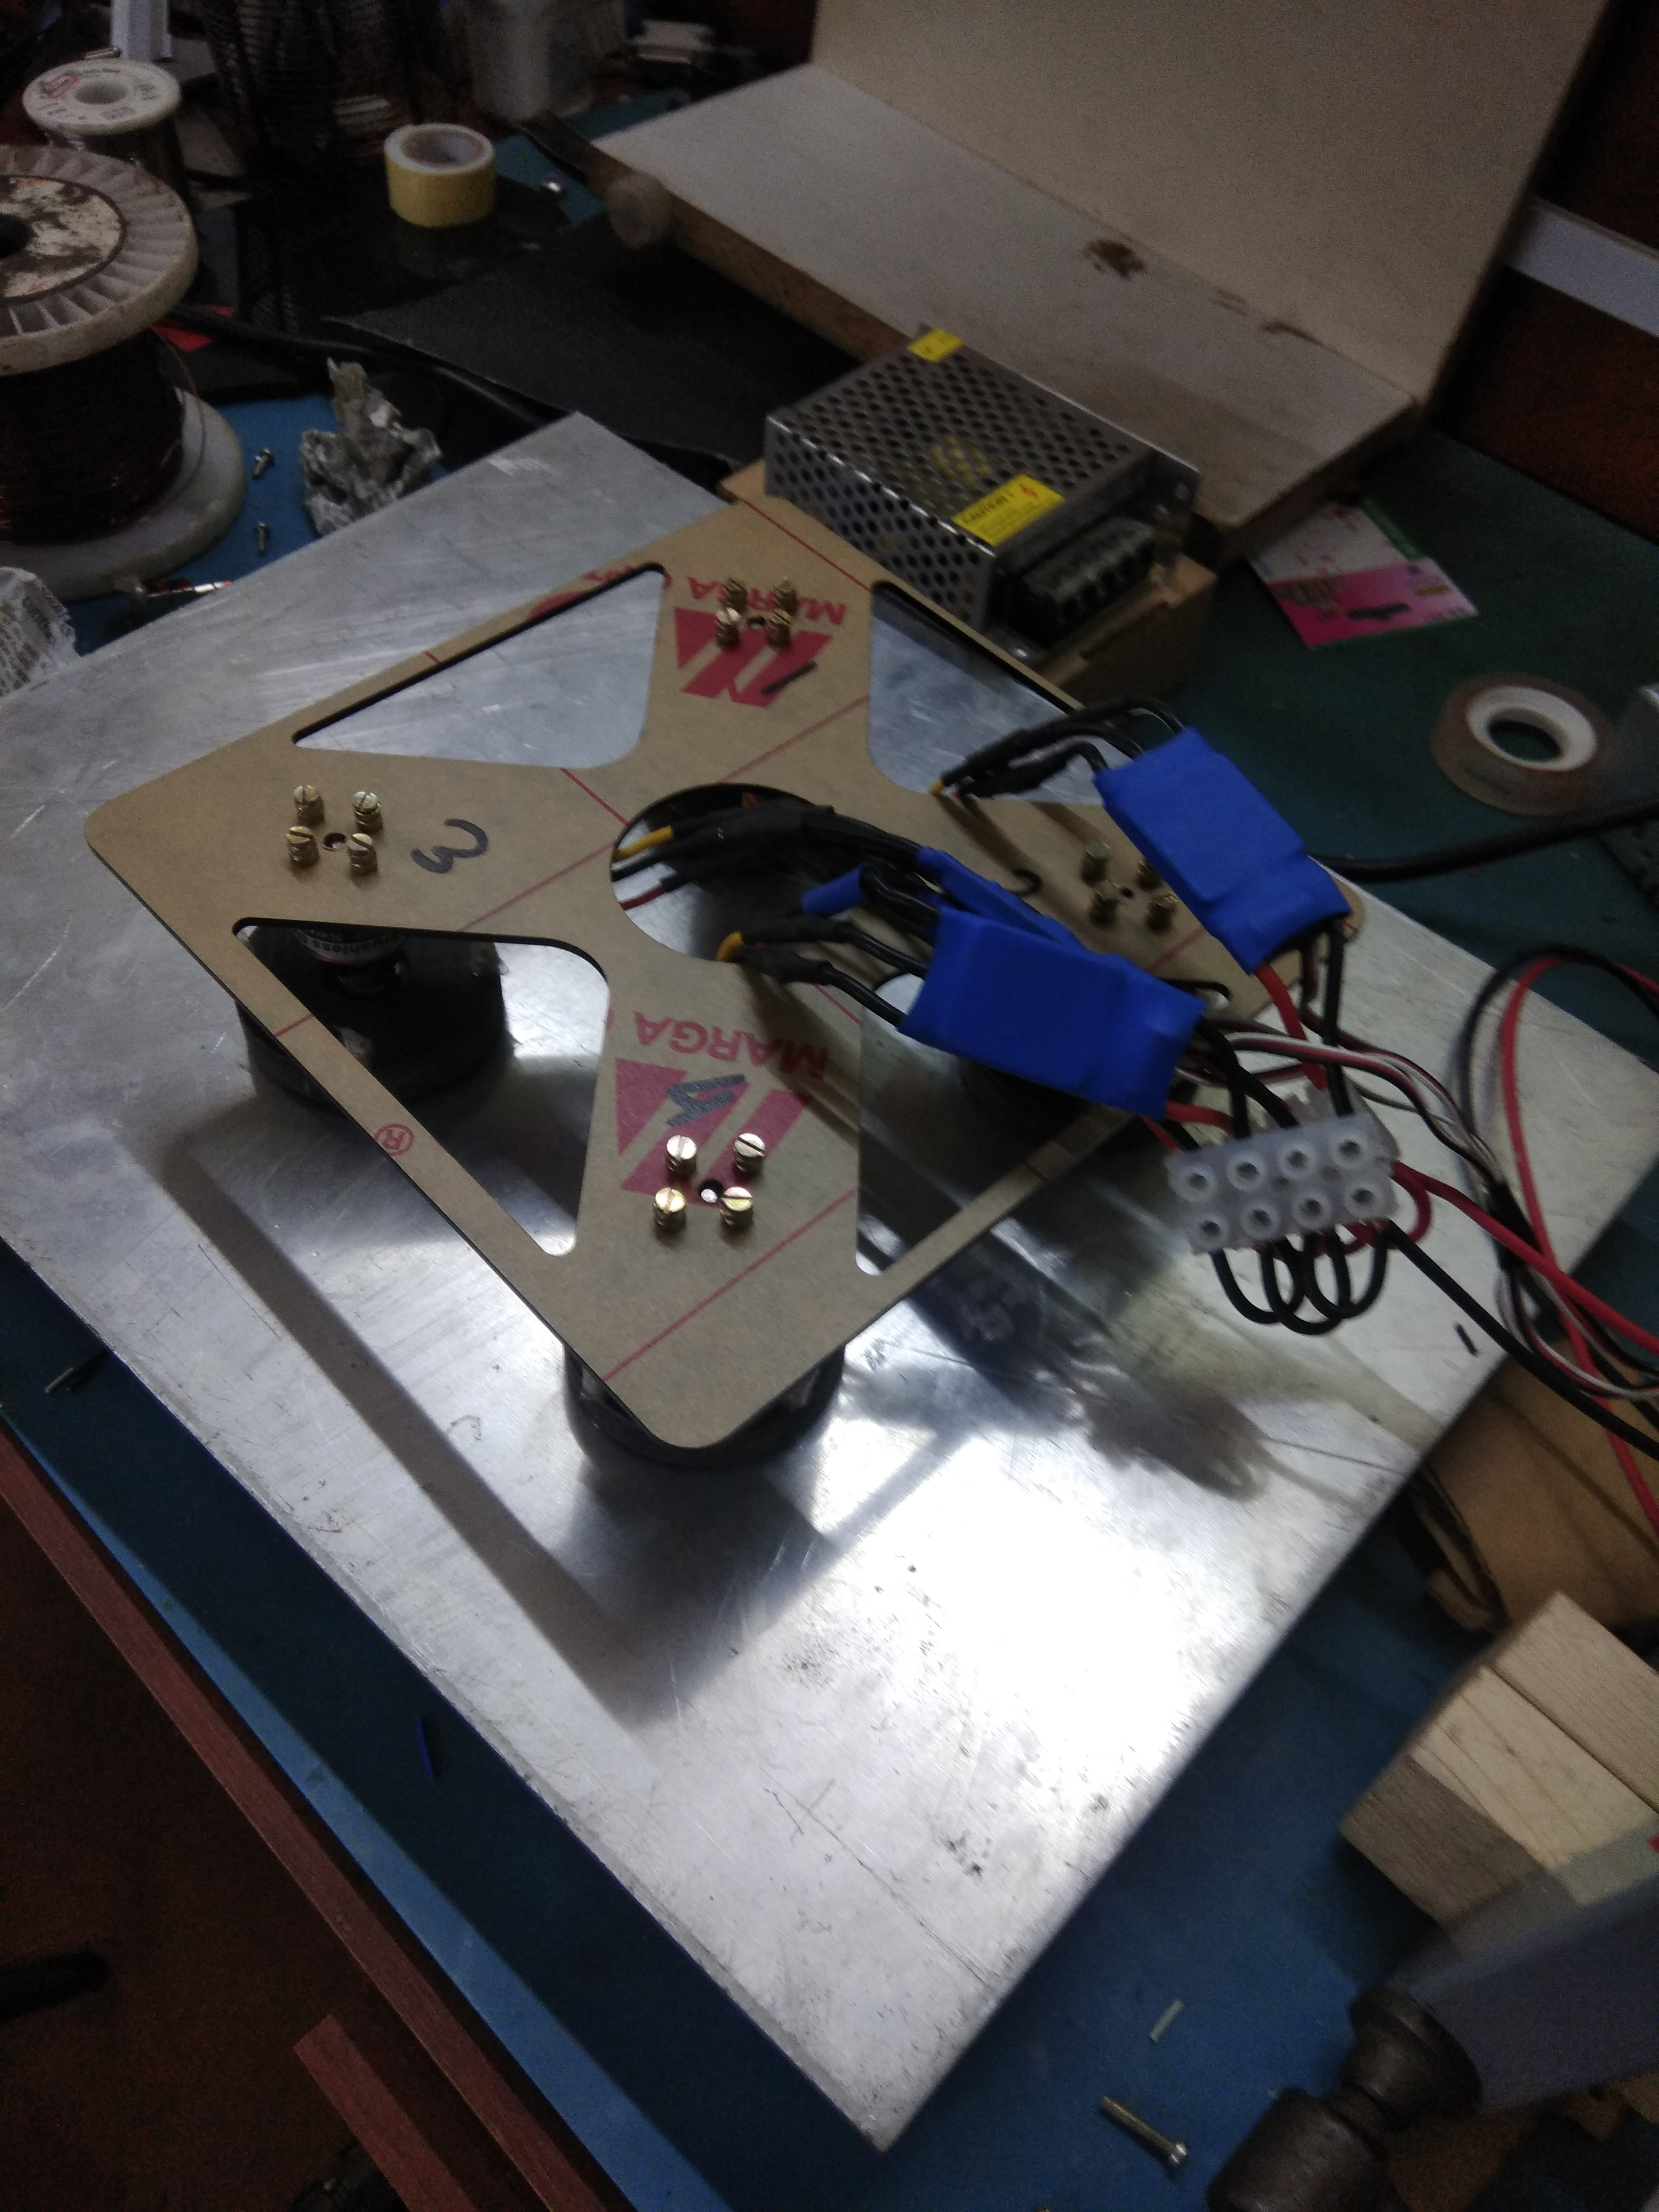
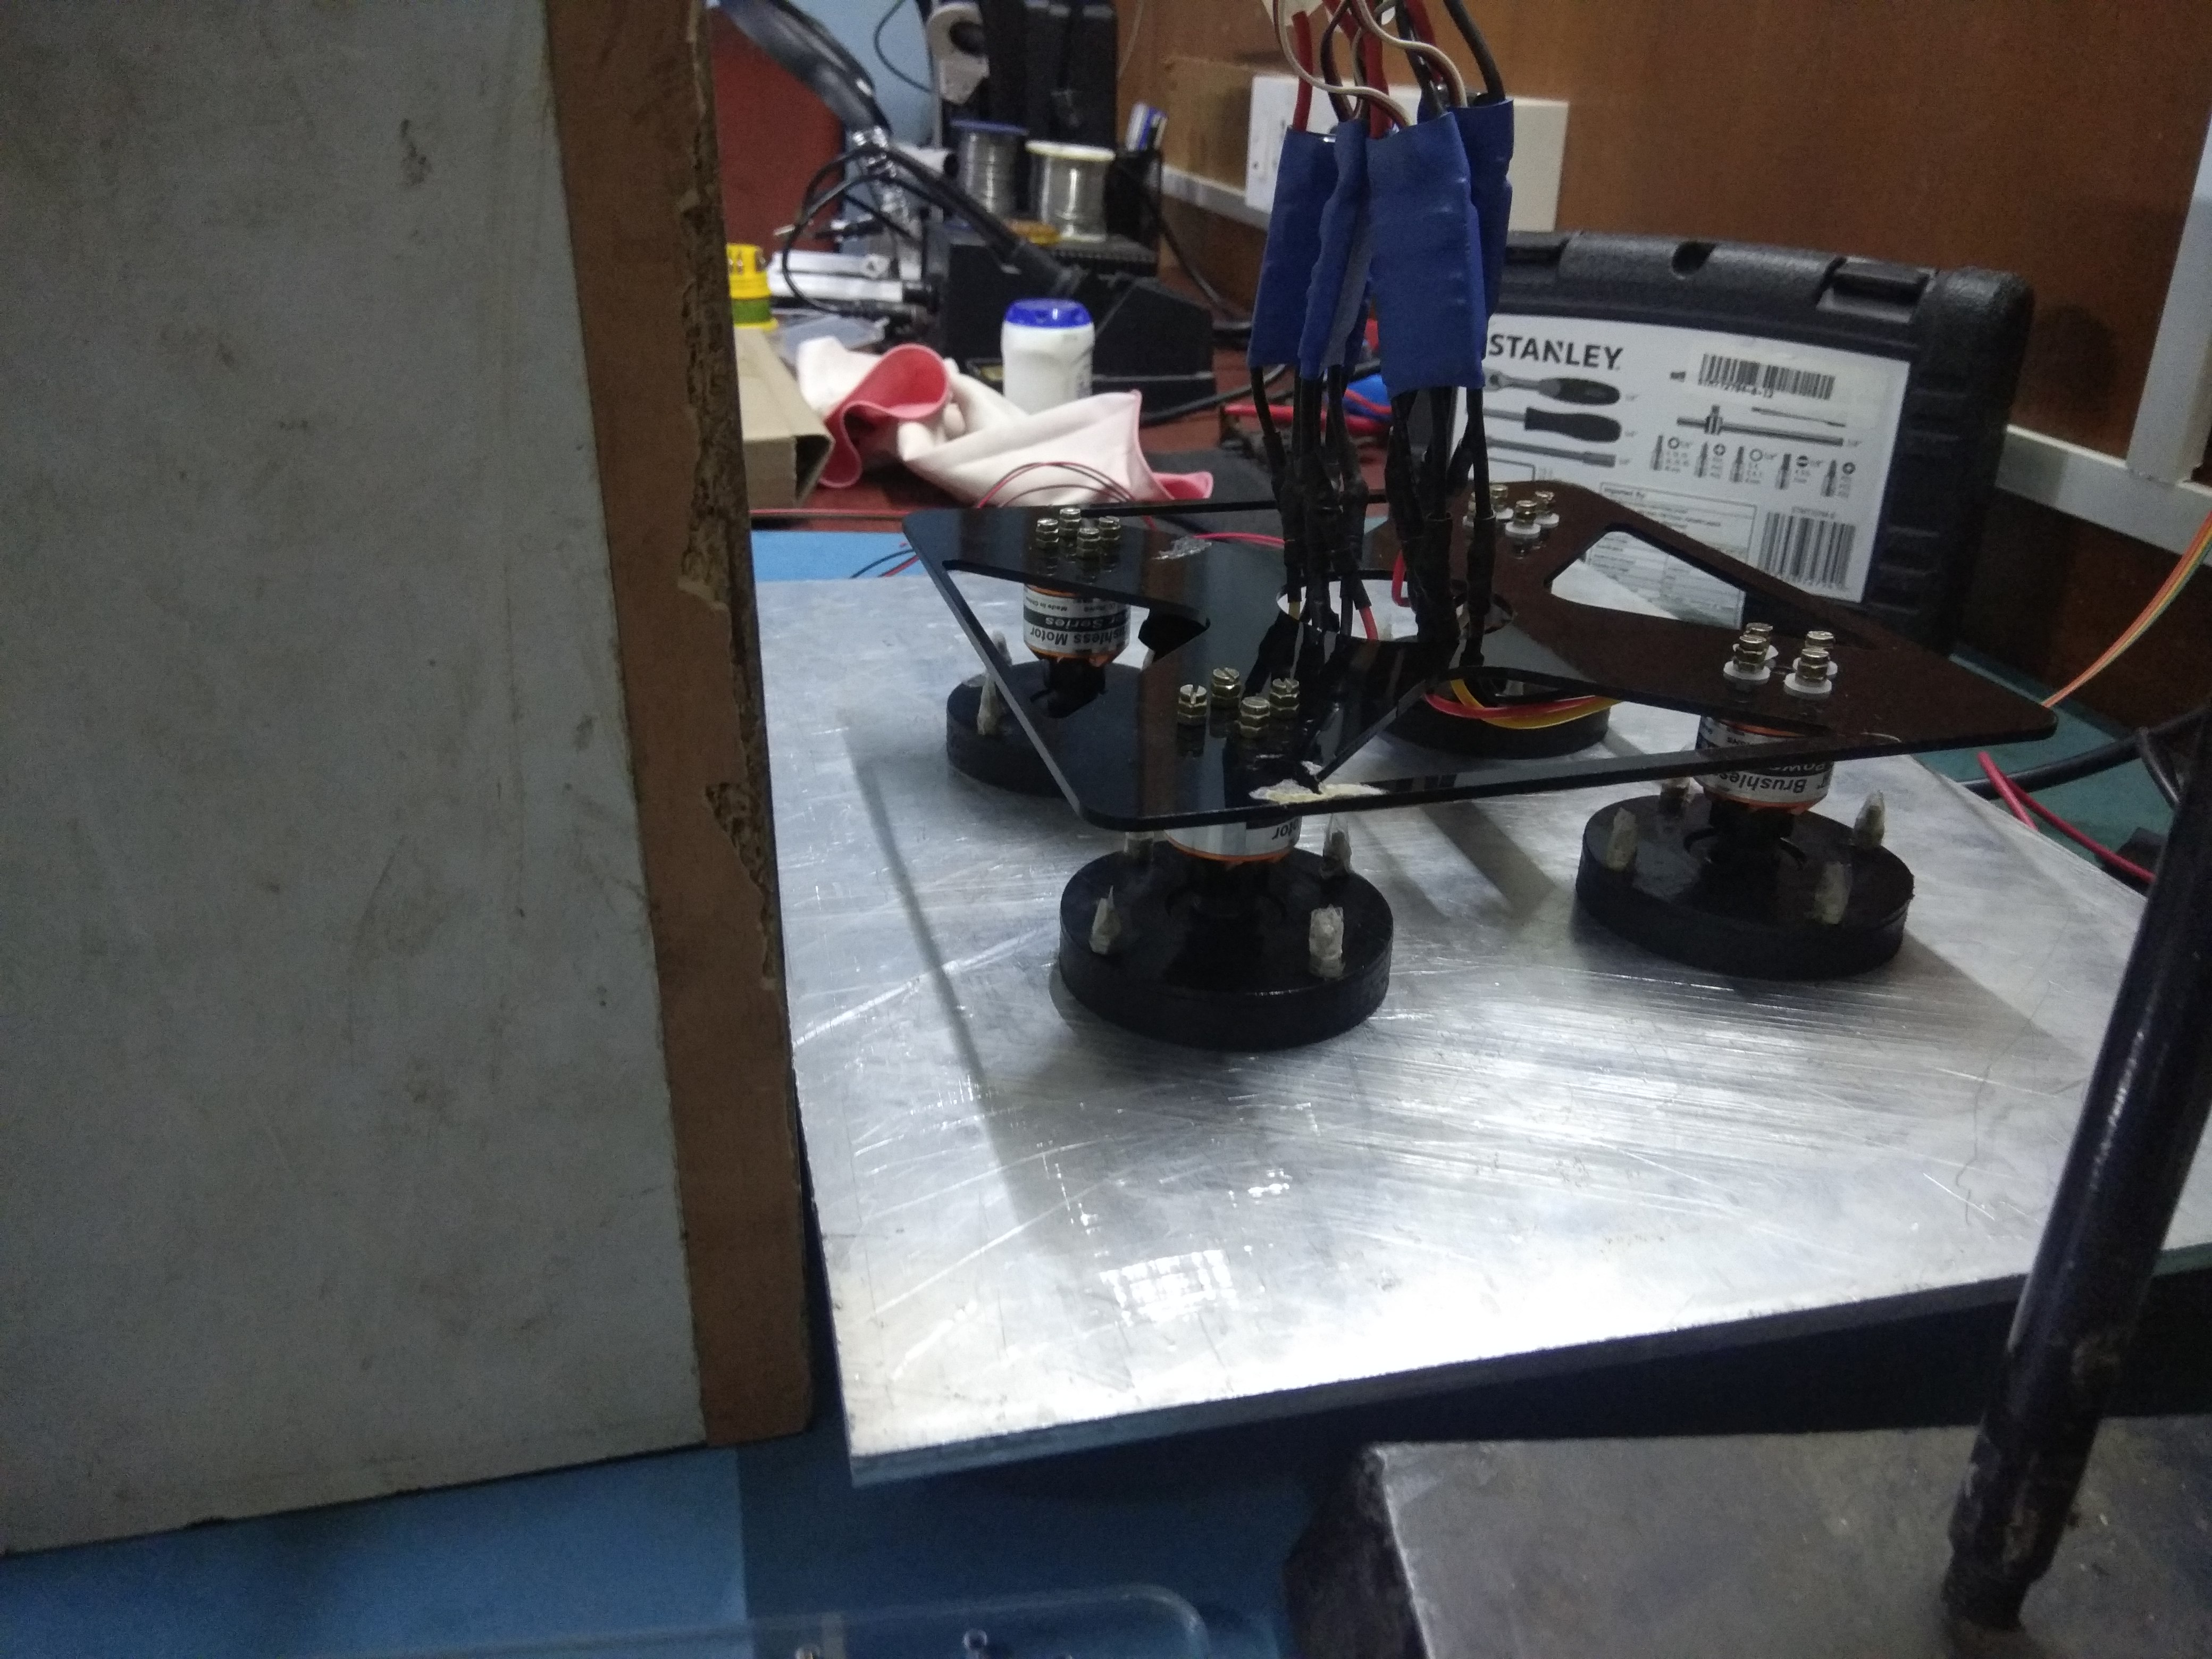
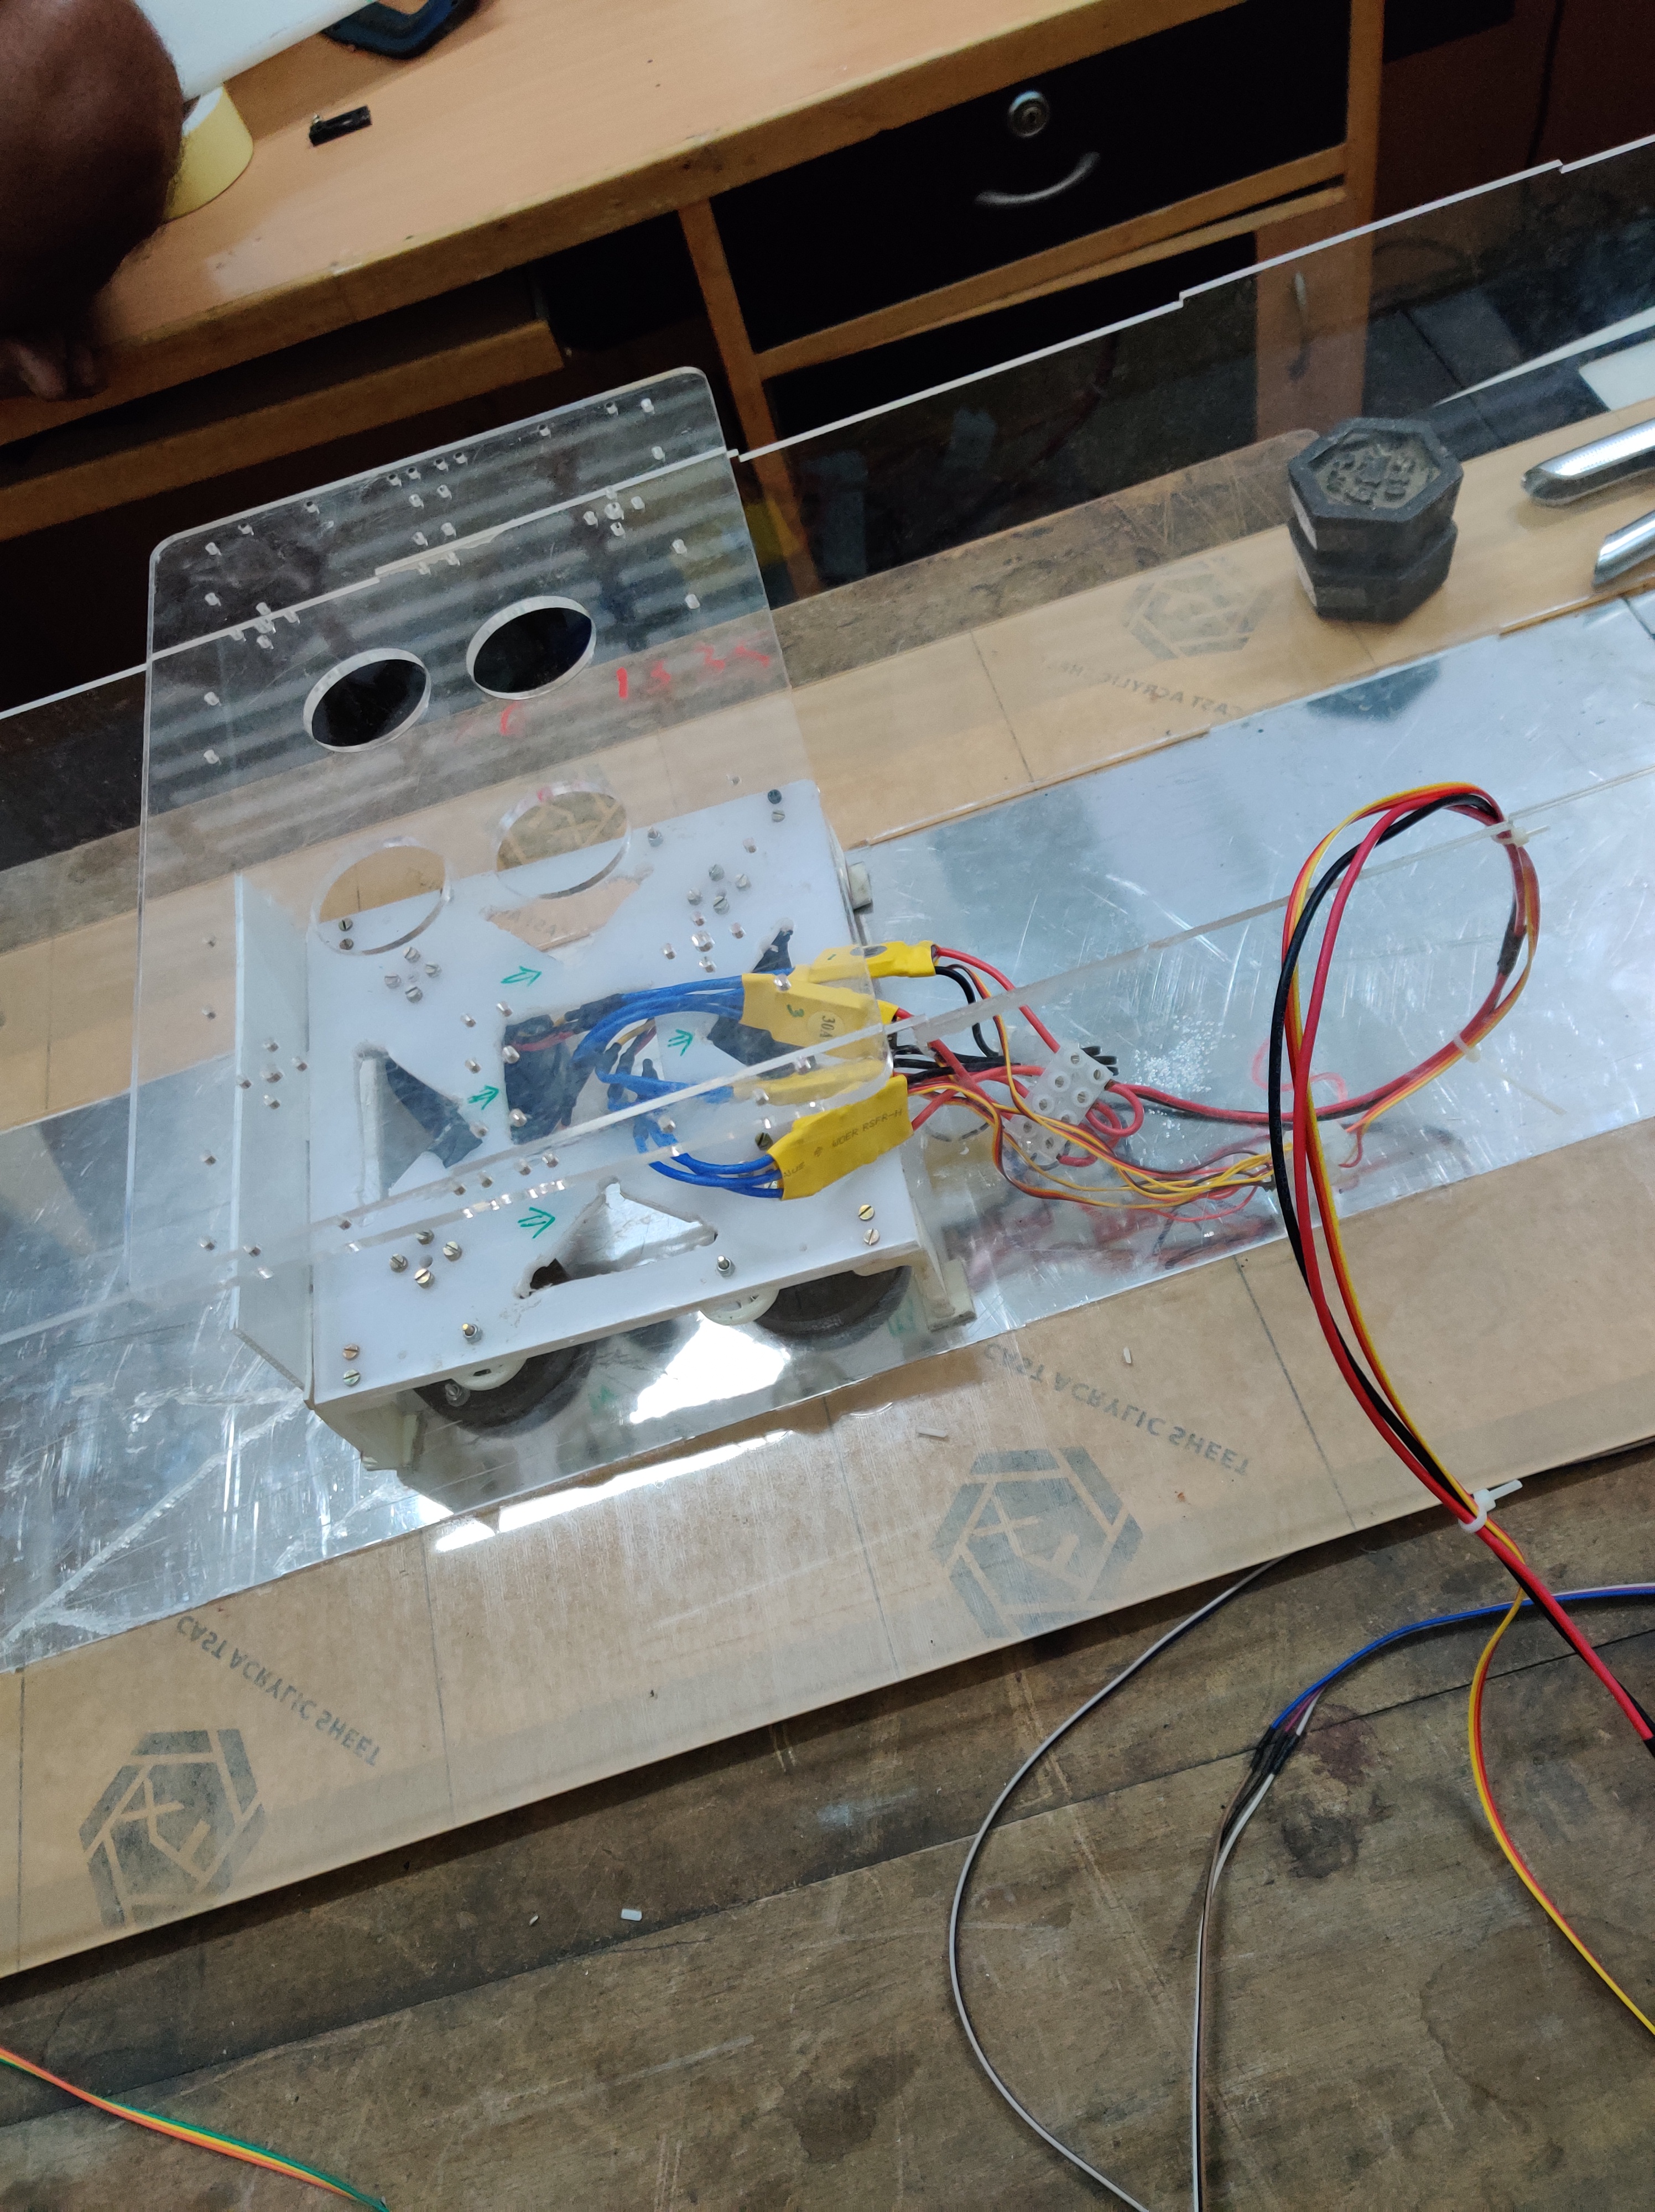
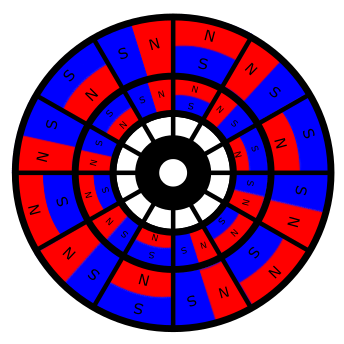
Choosing magnets. We tested with motors and iterated with different types of magnets to ensure there is enough lift. We chose Neodymium magnets and Halbach array to have a stronger magnetic field. While designing chassis we were looking for symmetry in placement of motors to have easy assembly and reduce uncertainties due to imbalance.
Step 3
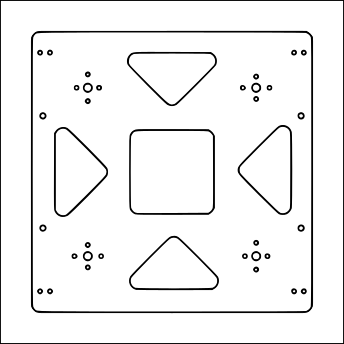
3D printing rotors to minimize weight and laser cutting chassis out of polypropylene to absorb vibrations as the acrylic chassis shattered during testing due to its brittle nature. It was a magnificent fracture that should be included in physics and mechanics textbooks to teach students what brittle fracture looks like!
PS: No one got hurt!
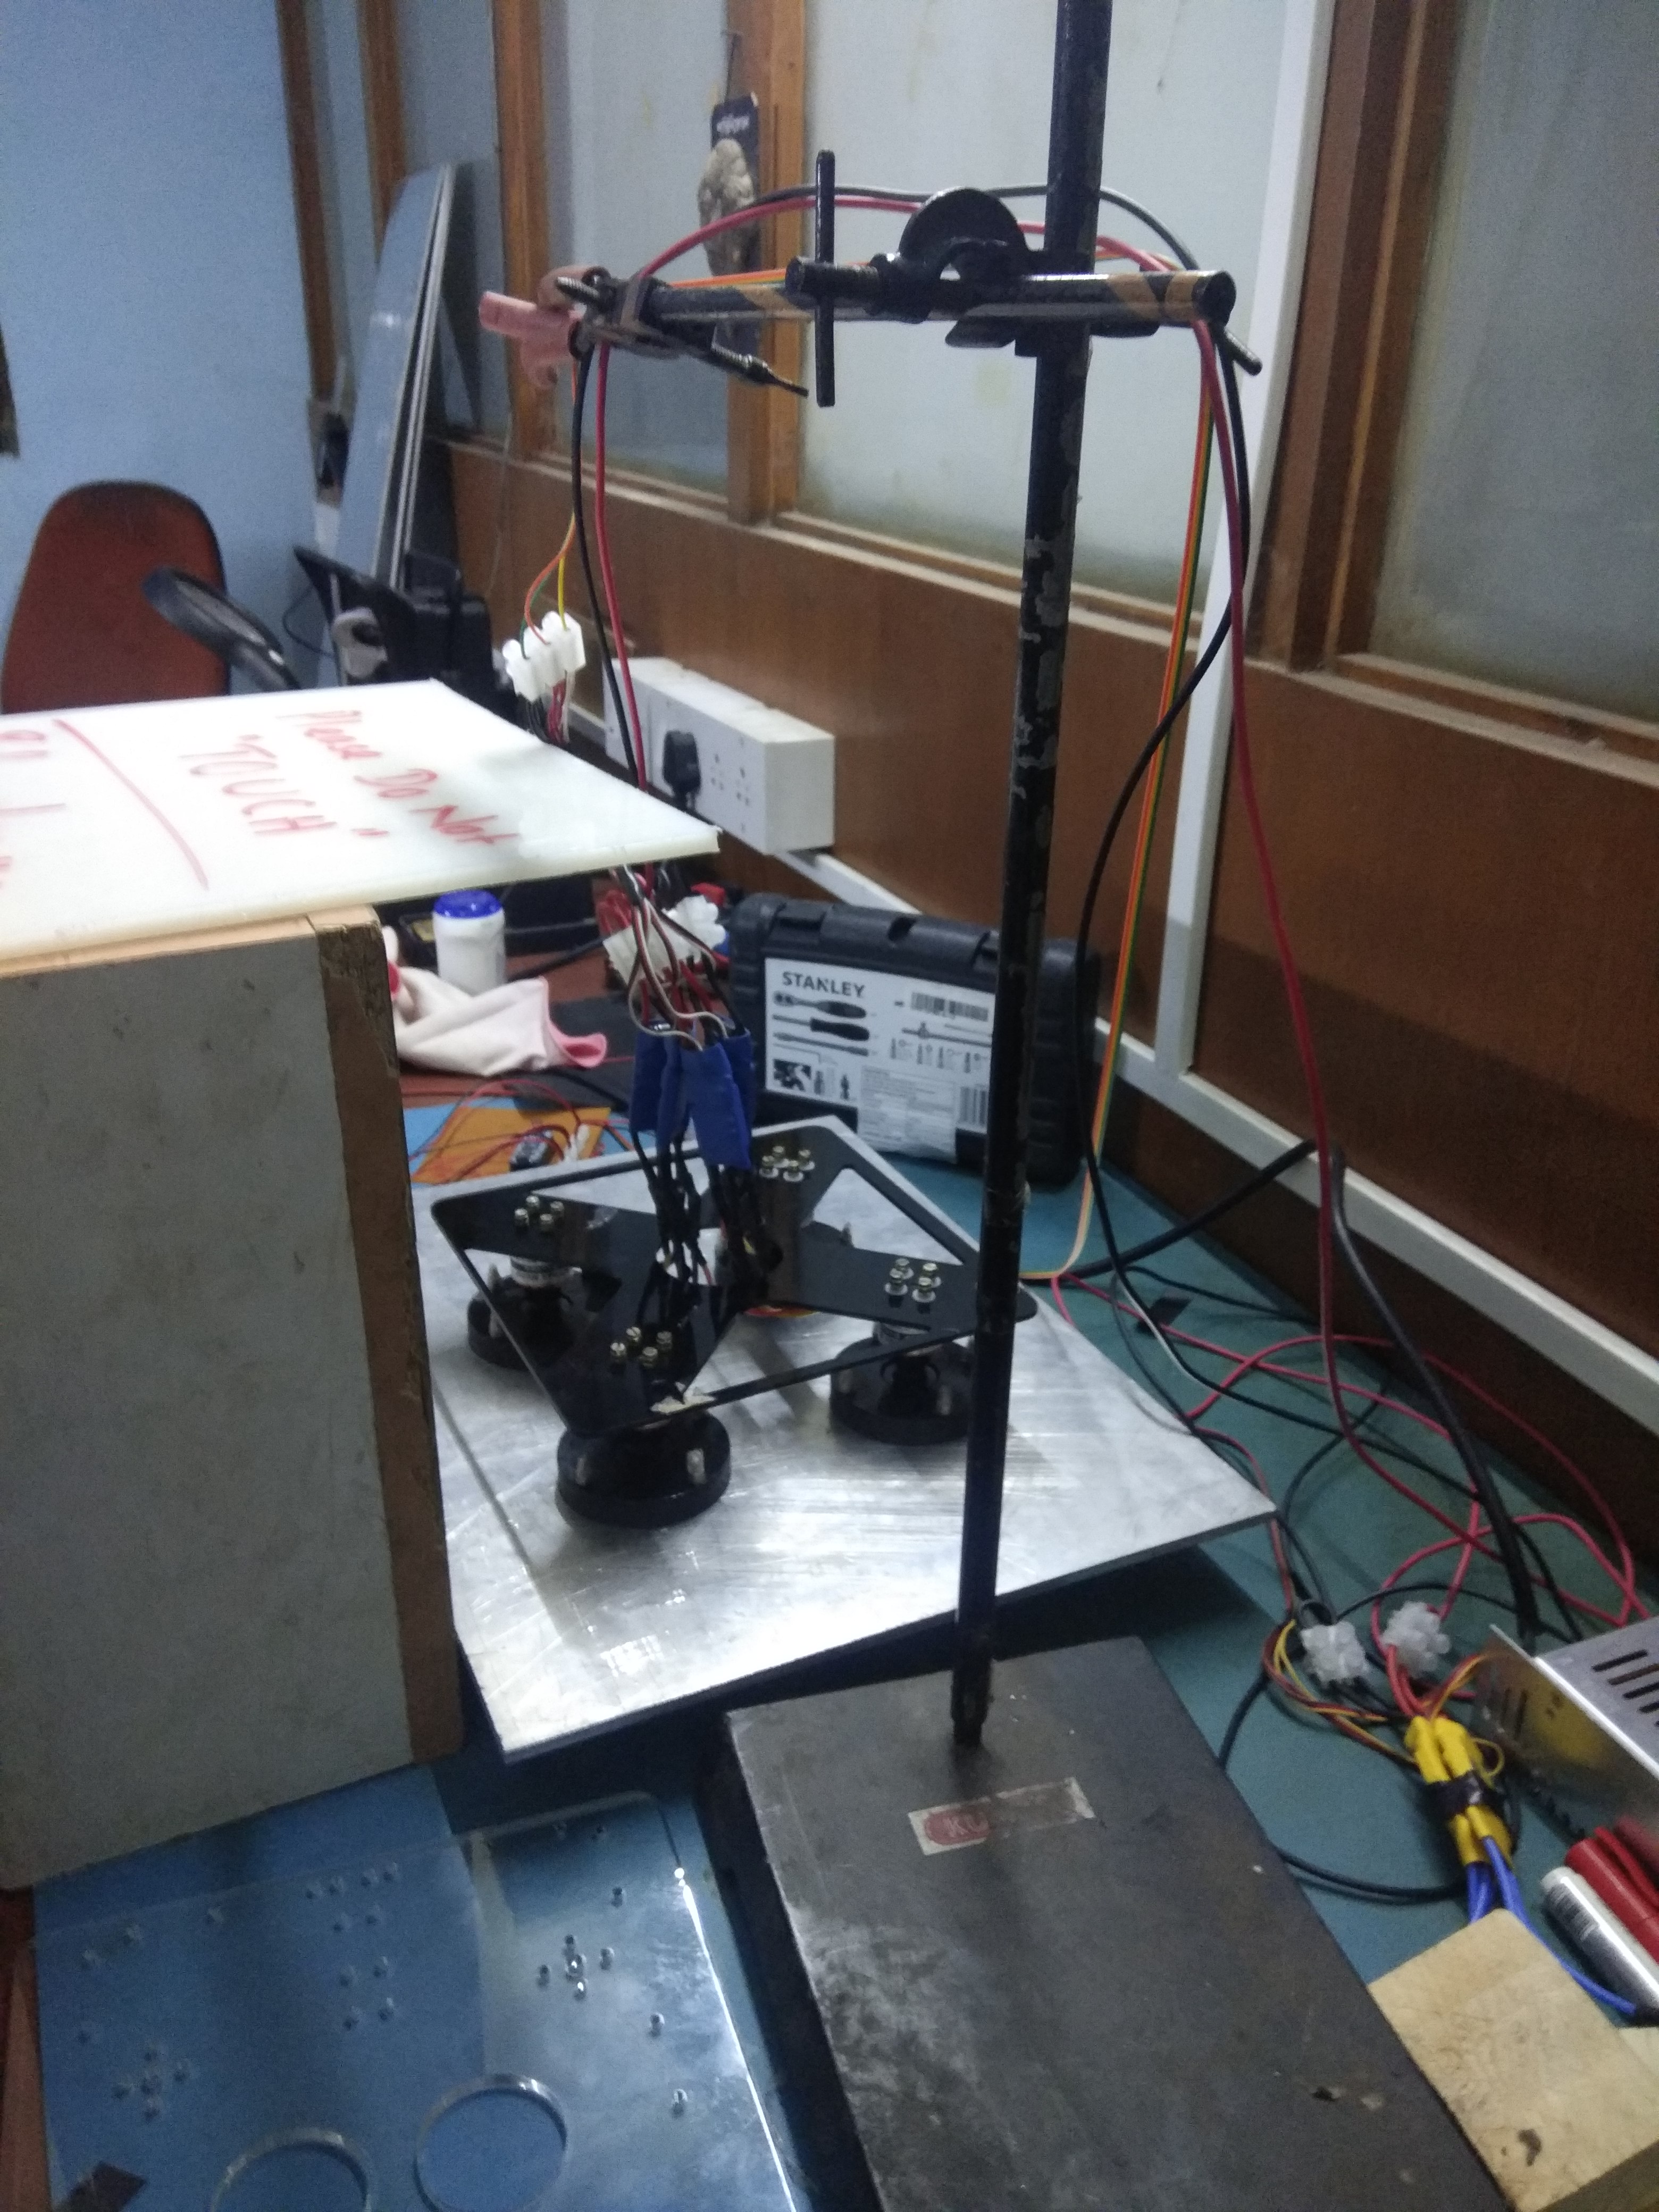
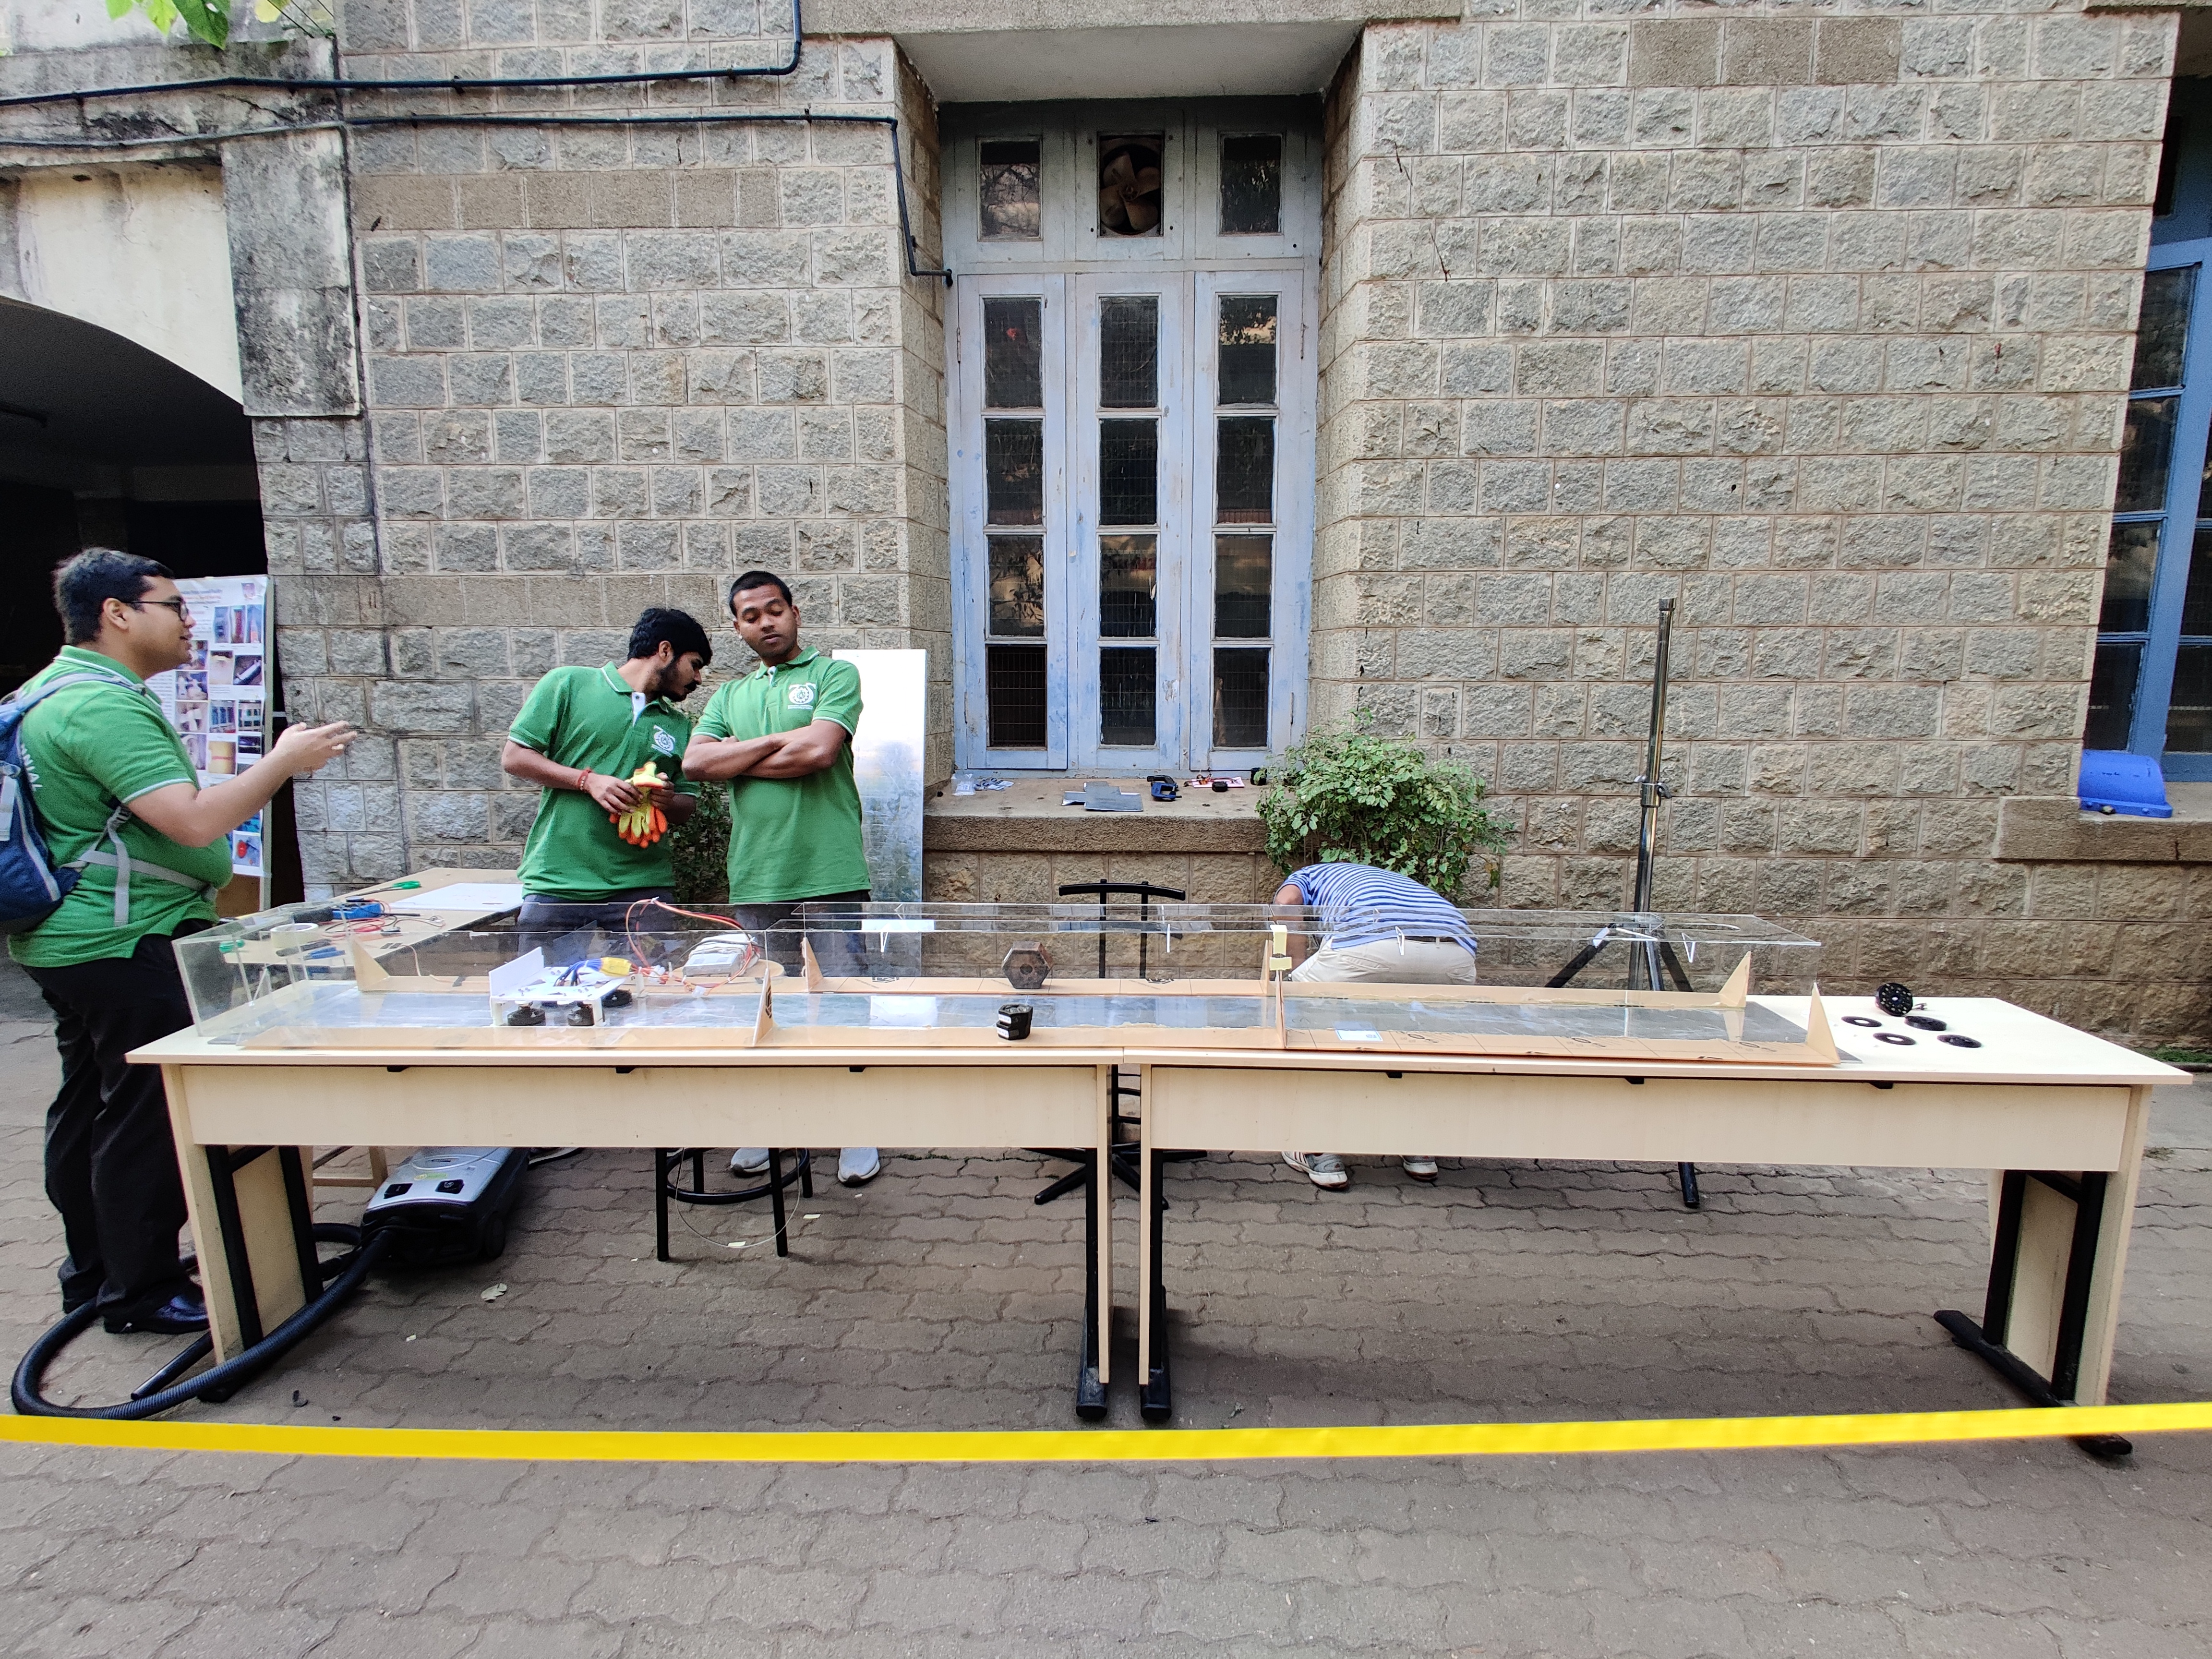
Step 4
Demonstration Day. Hyperloop leaving 9 and 3/4 platform from king’s cross station! Please check out the video.